For the best experience on smaller and mobile devices, we'd strongly reccommend going 'full screen'. Tap the button below to start.
For the best experience on smaller Apple devices we'd strongly reccommend viewing in full screen mode. To do this:
Tap the Share button at the bottom of the screen.
Select "Add to Home Screen".
Tap "Add" in the top-right corner.
Welcome to the First Aid Badge
In this badge, you'll learn how to:
- Perform a primary survey
- Respond to someone with a severe bleed
- Respond to someone choking
- Respond to someone who is unresponsive but breathing
- Respond to someone who is unresponsive and not breathing
- Apply your new skills and test yourself
Hi, we're the St John Ambulance Cadets
We're here to help you on your first aid journey and will be guiding you through each stage of the training zone.
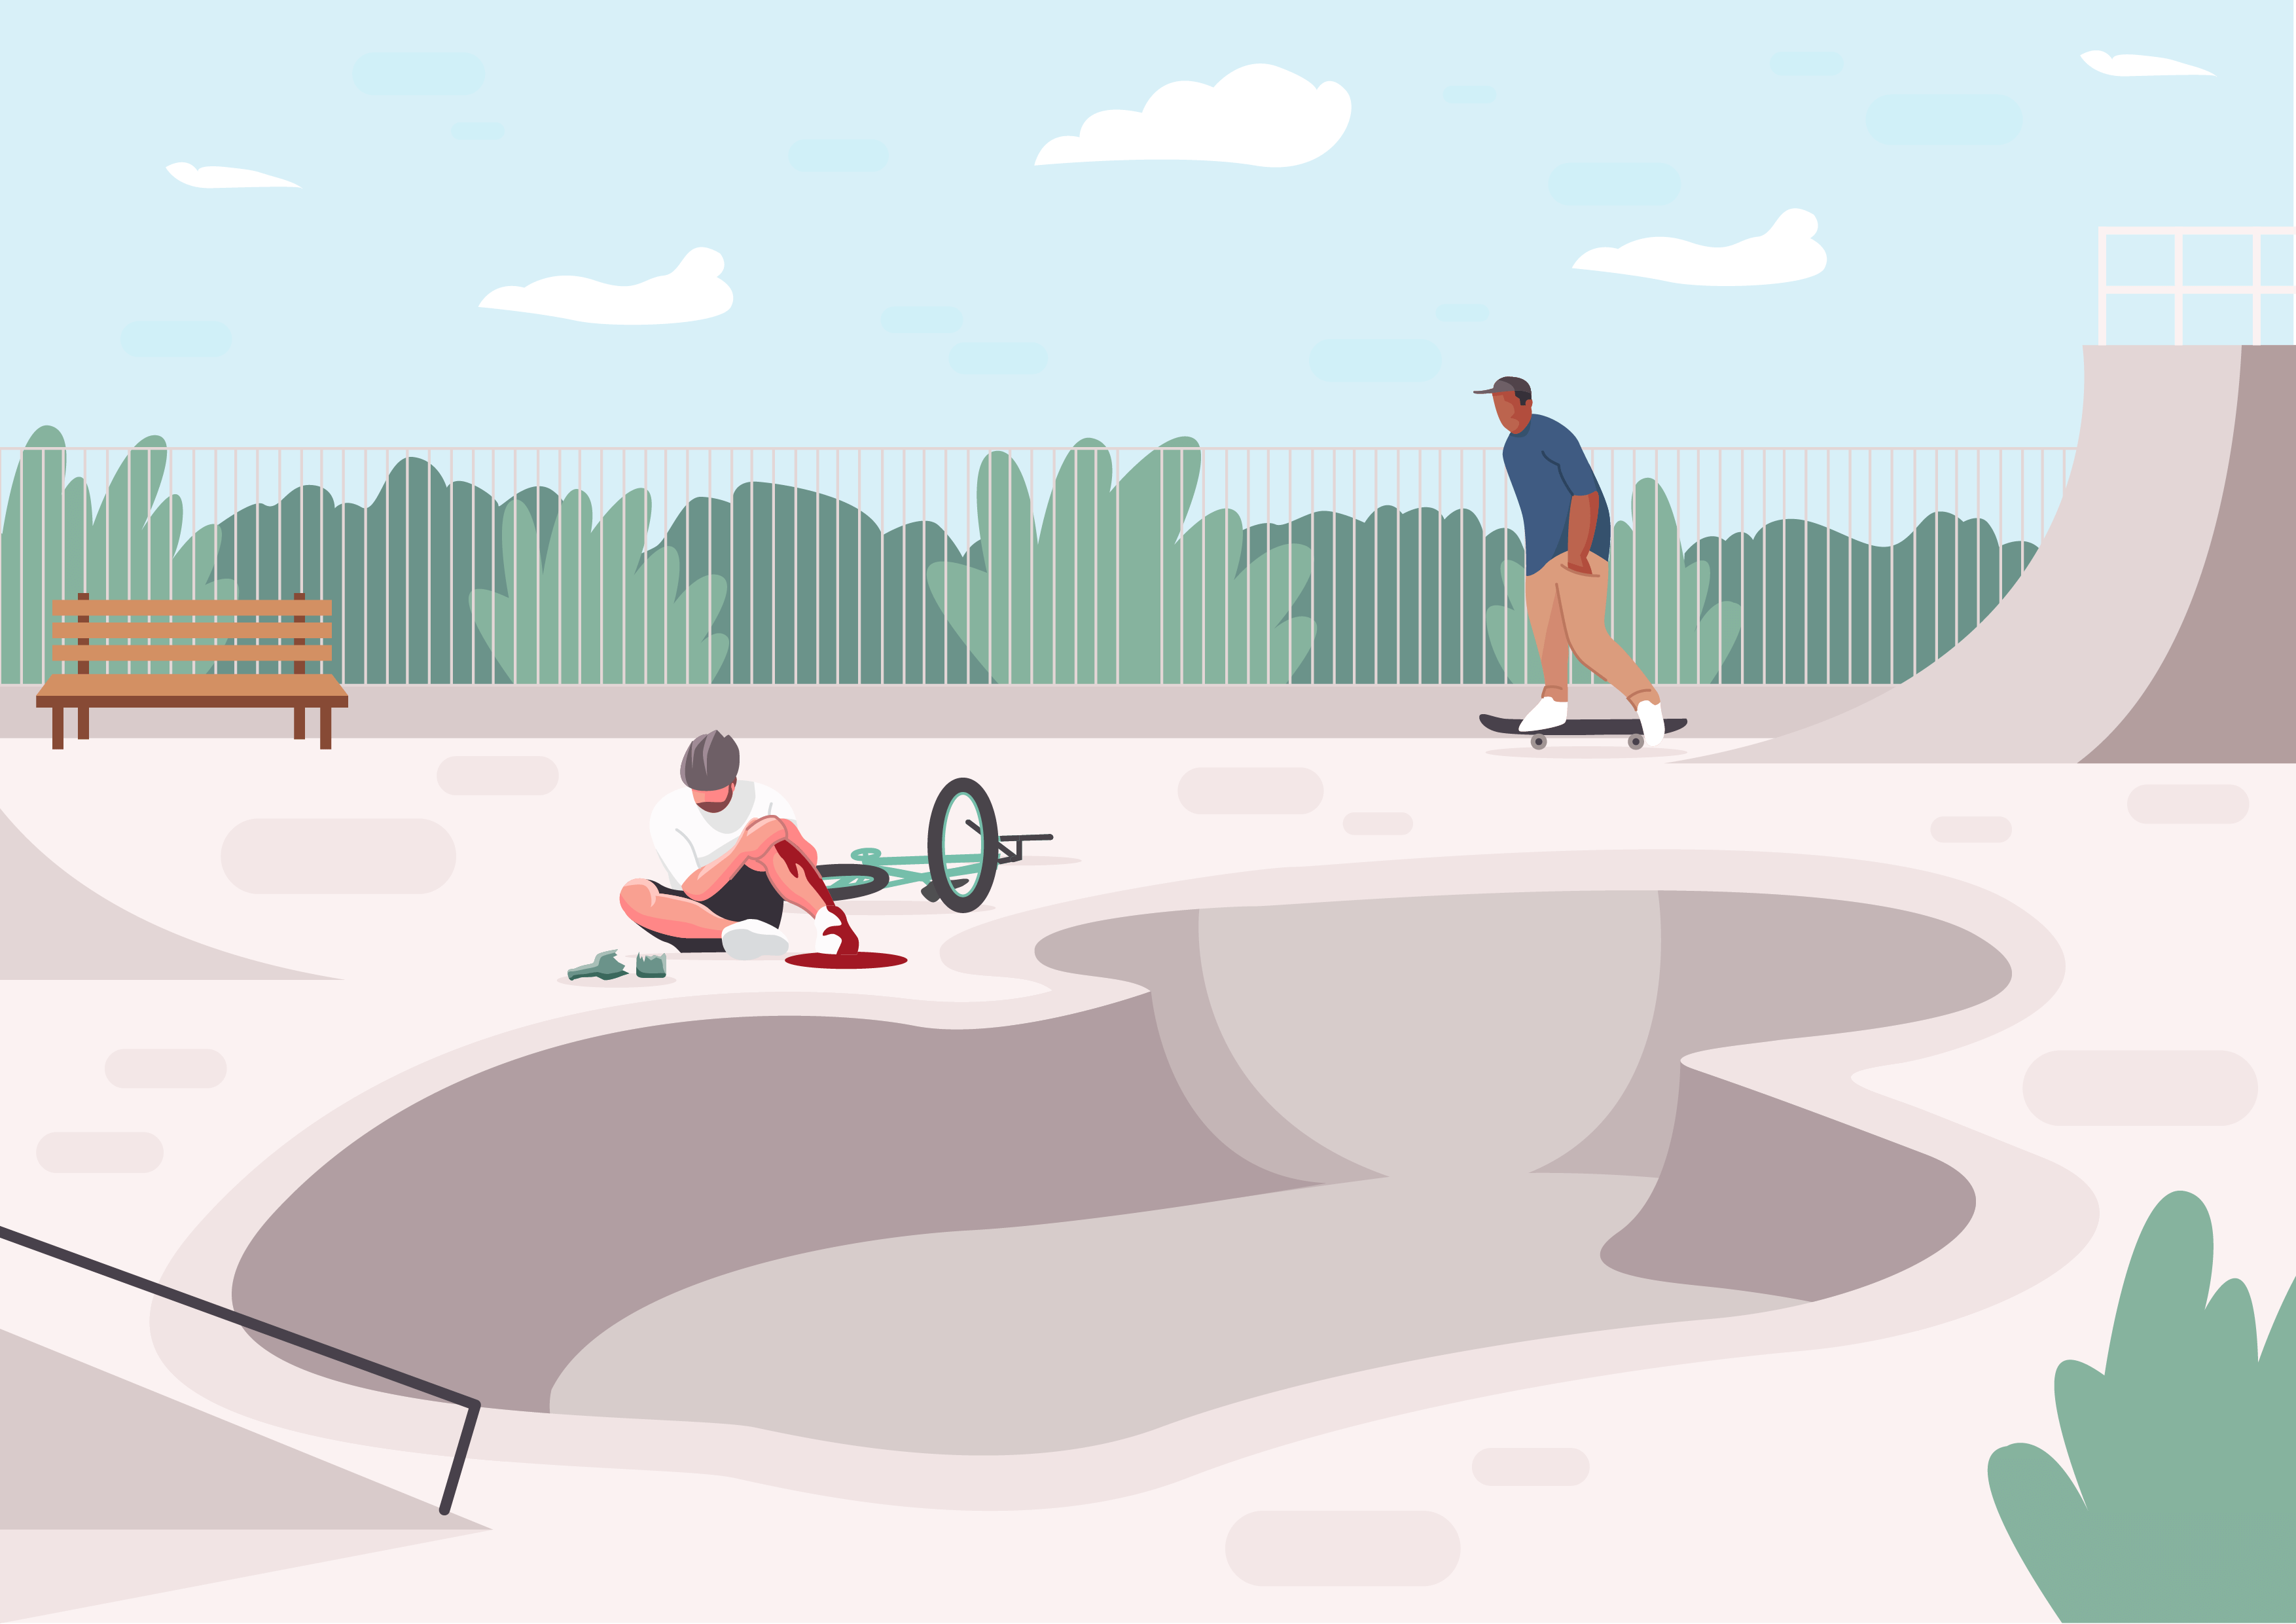
Identify the dangers
Select the three dangers nearby
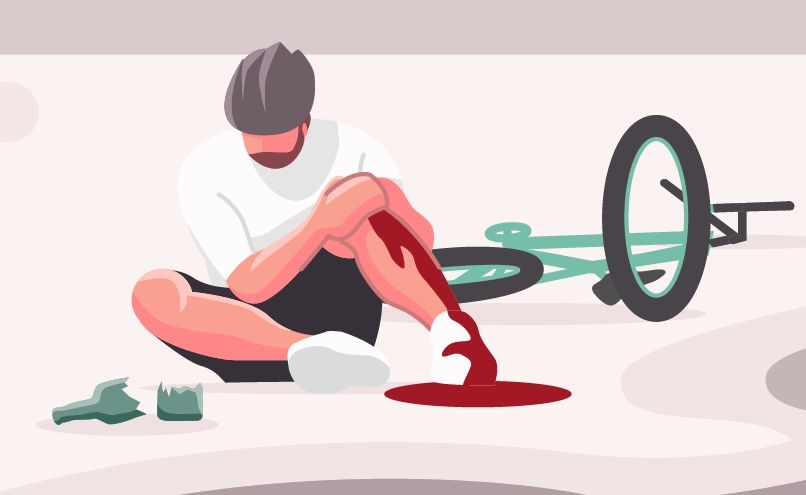
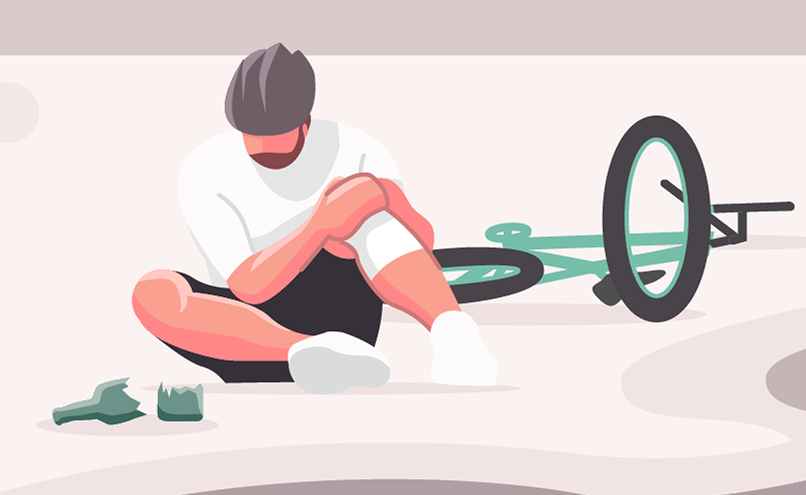
Stop the bleeding
Apply direct pressure to the wound to stop the bleeding.

They are choking
A red puffy face is one of the signs they are choking.


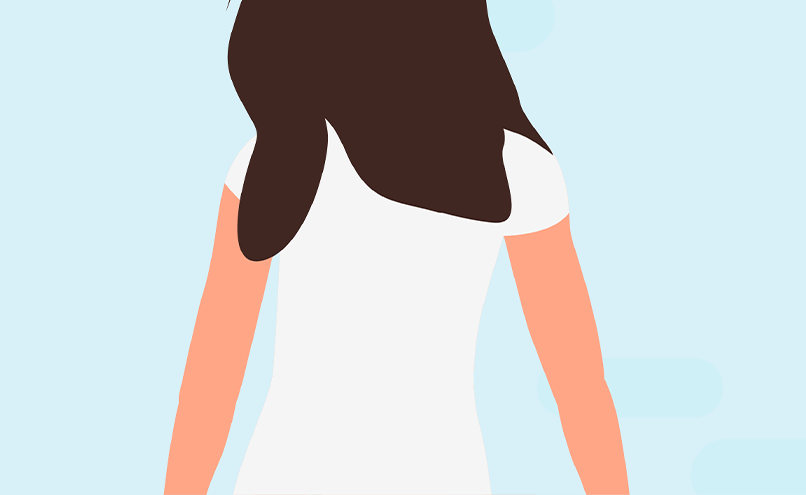
Back blows
1. Select the correct hand position to perform back blows.
2. Select the location on the back of the person where we should perform the back blows.
They are still choking
They're now turning blue

Abdominal thrusts
1. Select the correct hand position to perform abdominal thrusts.
2. Select the location on the body where we should perform abdominal thrusts.

You did it!
It looks like their airway is clear

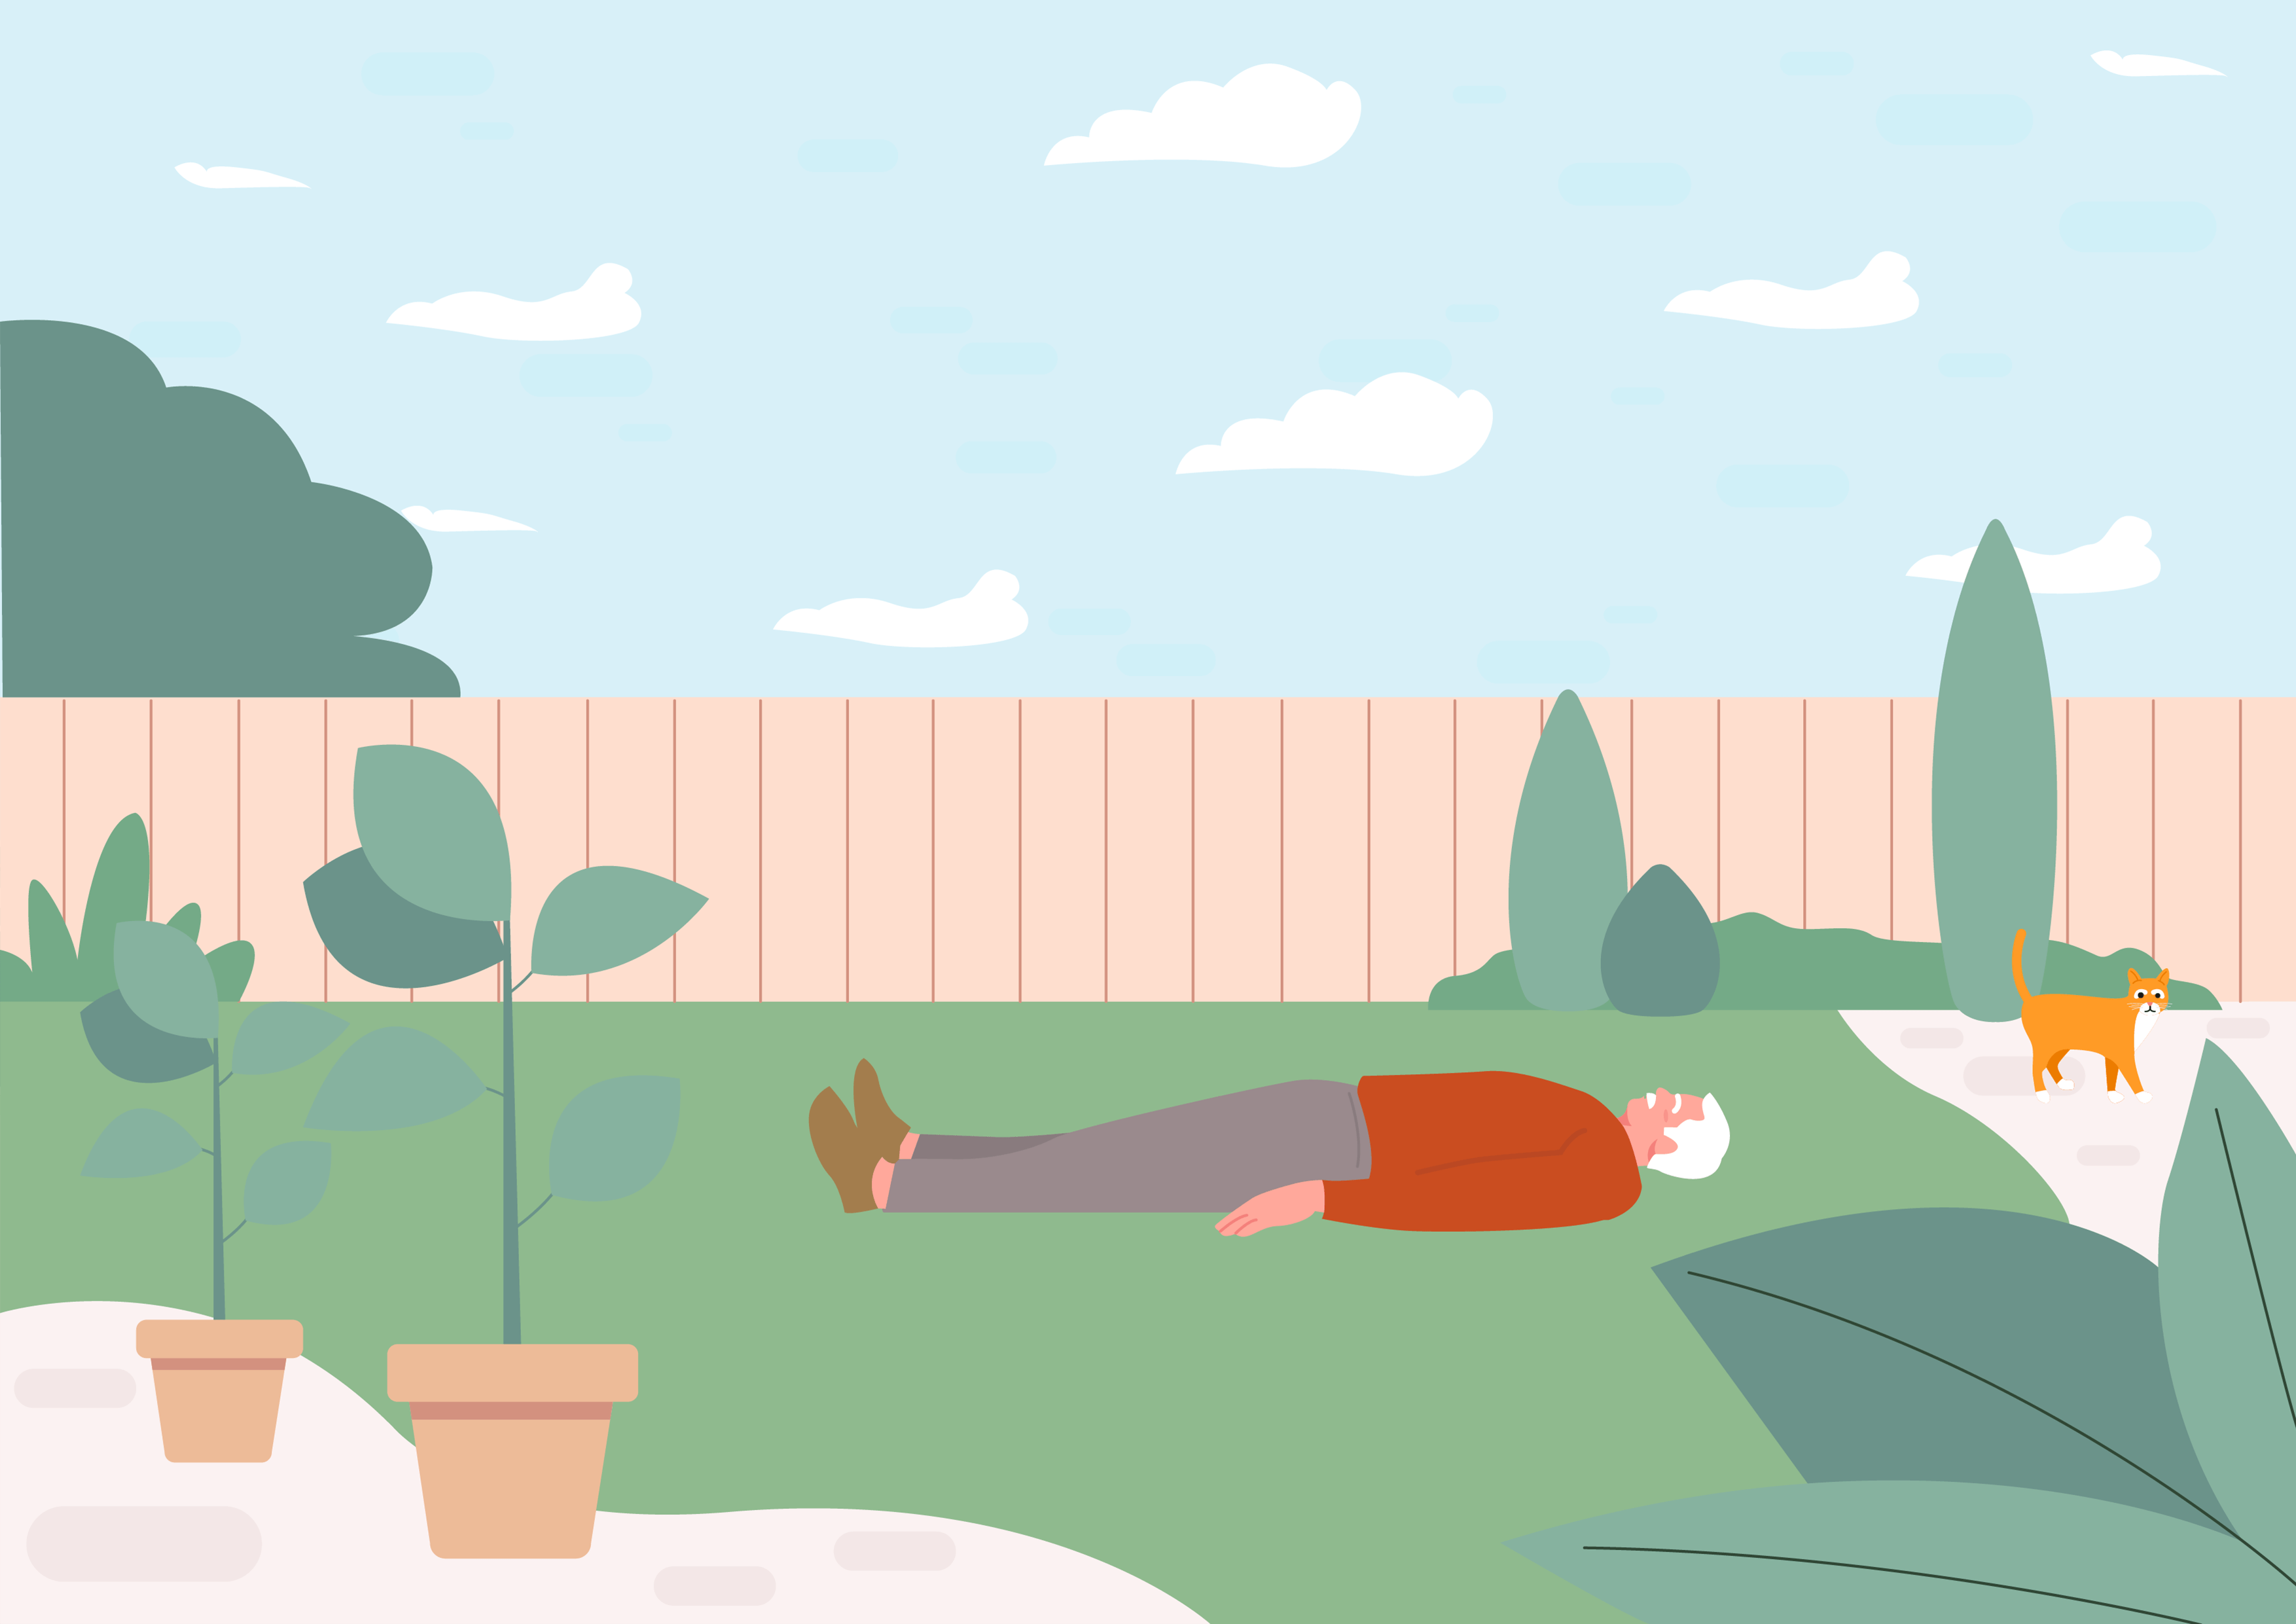
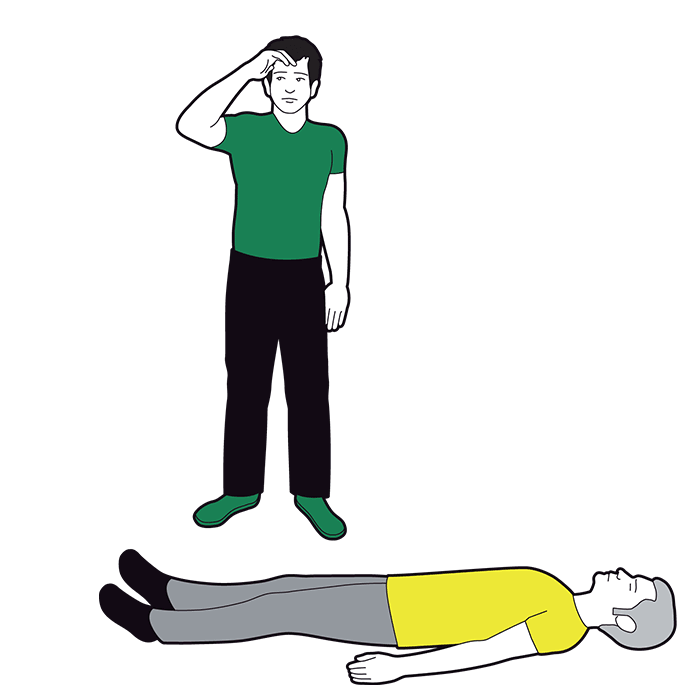
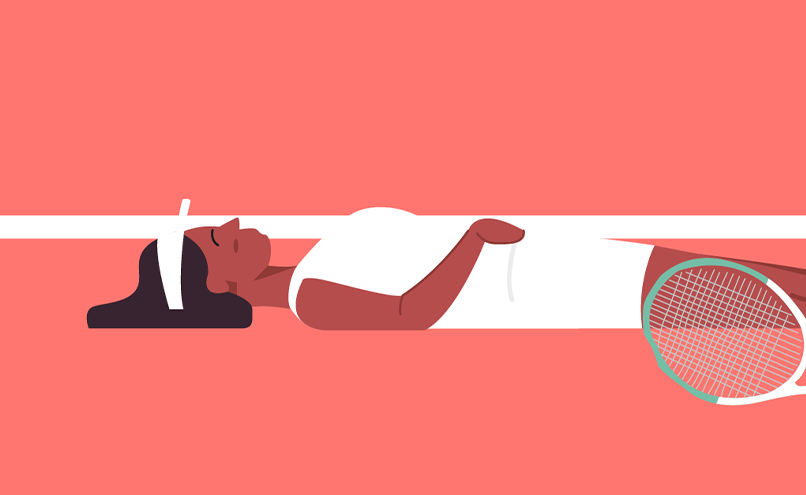
Try and get a response
Click on their shoulder to give them a gentle shake.
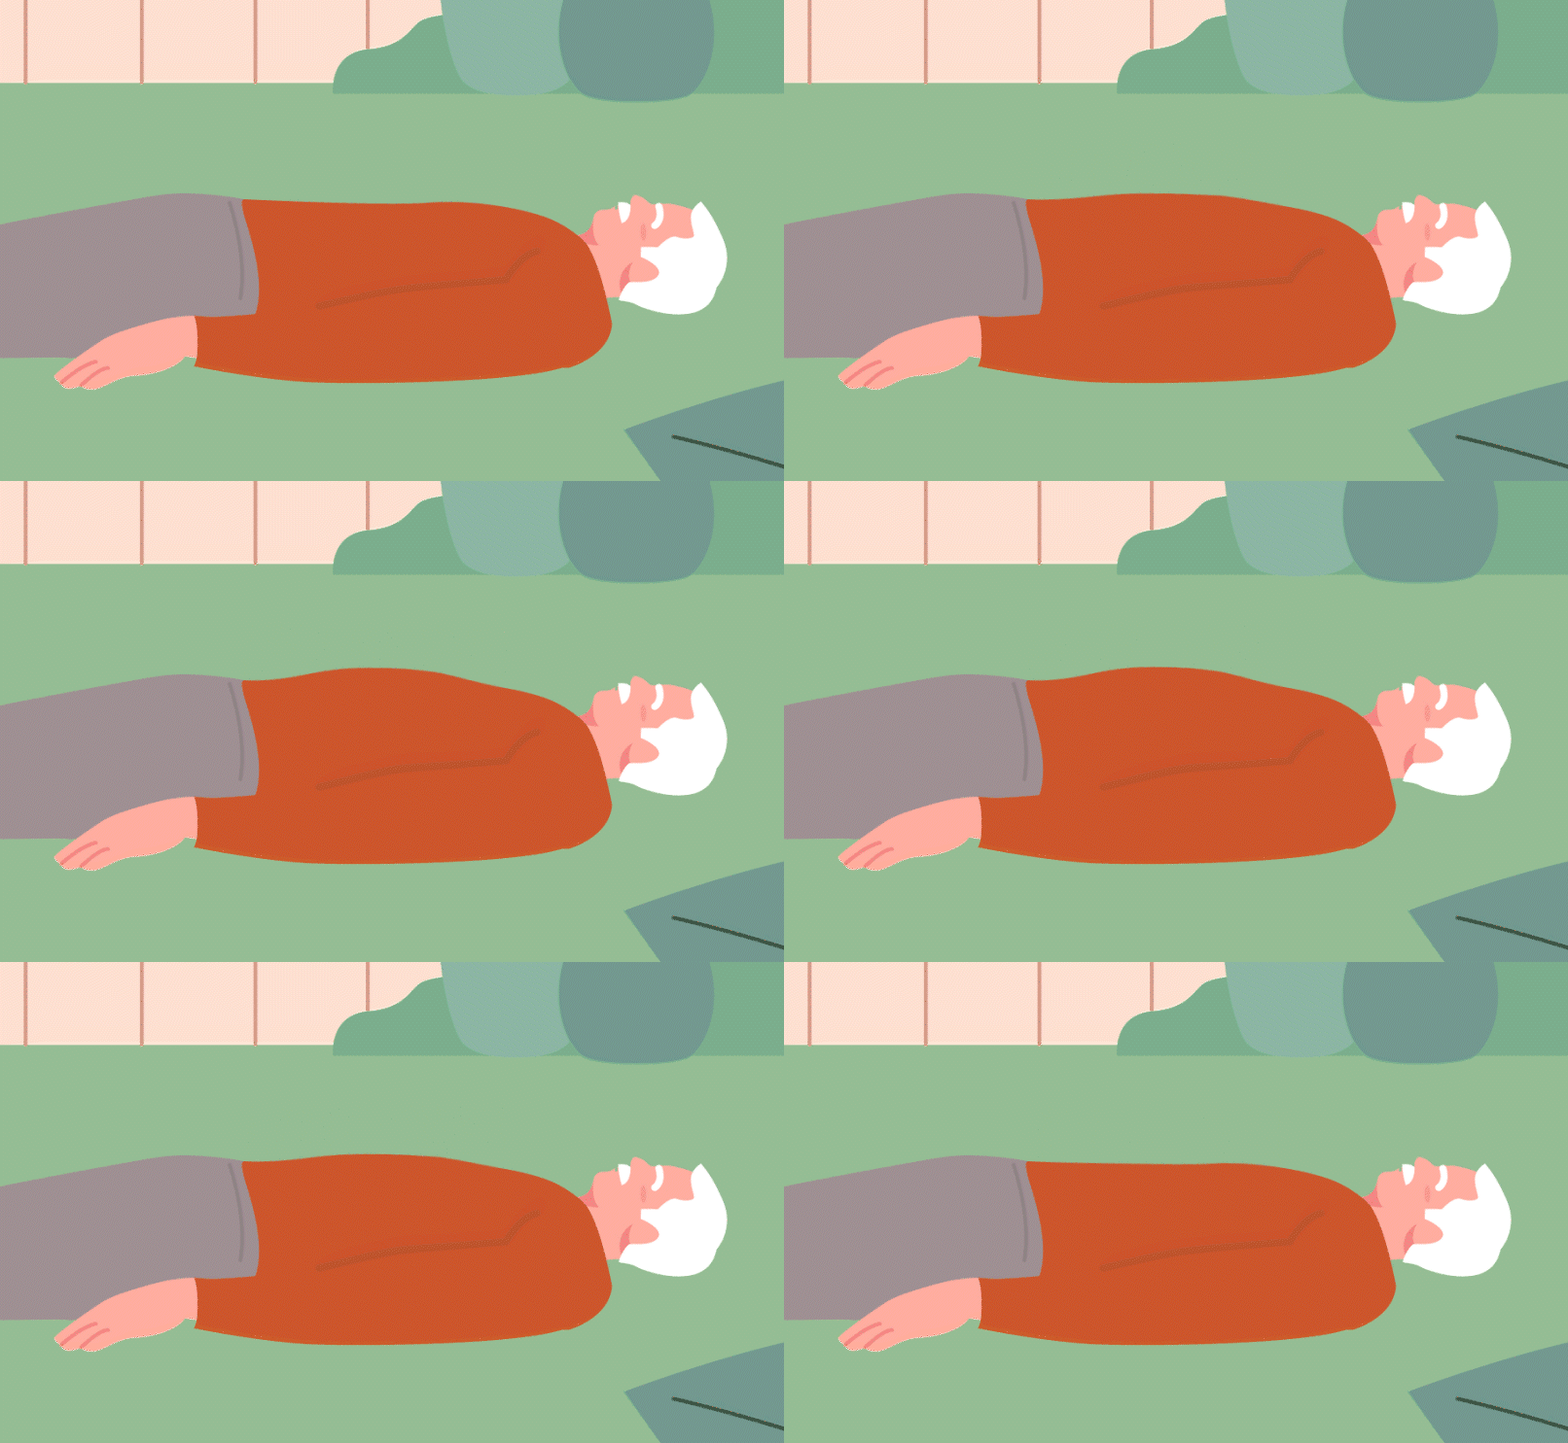
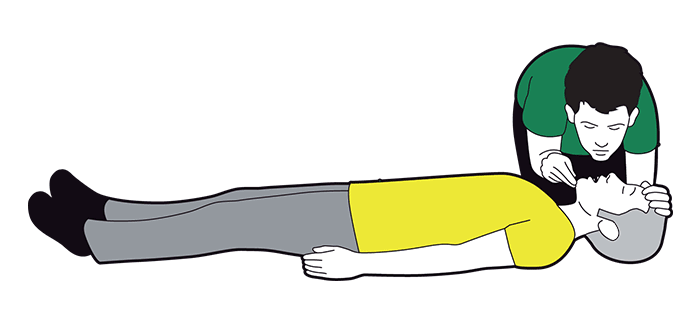
Check their airway
Select the two places needed to tilt the head back and lift the chin safely.

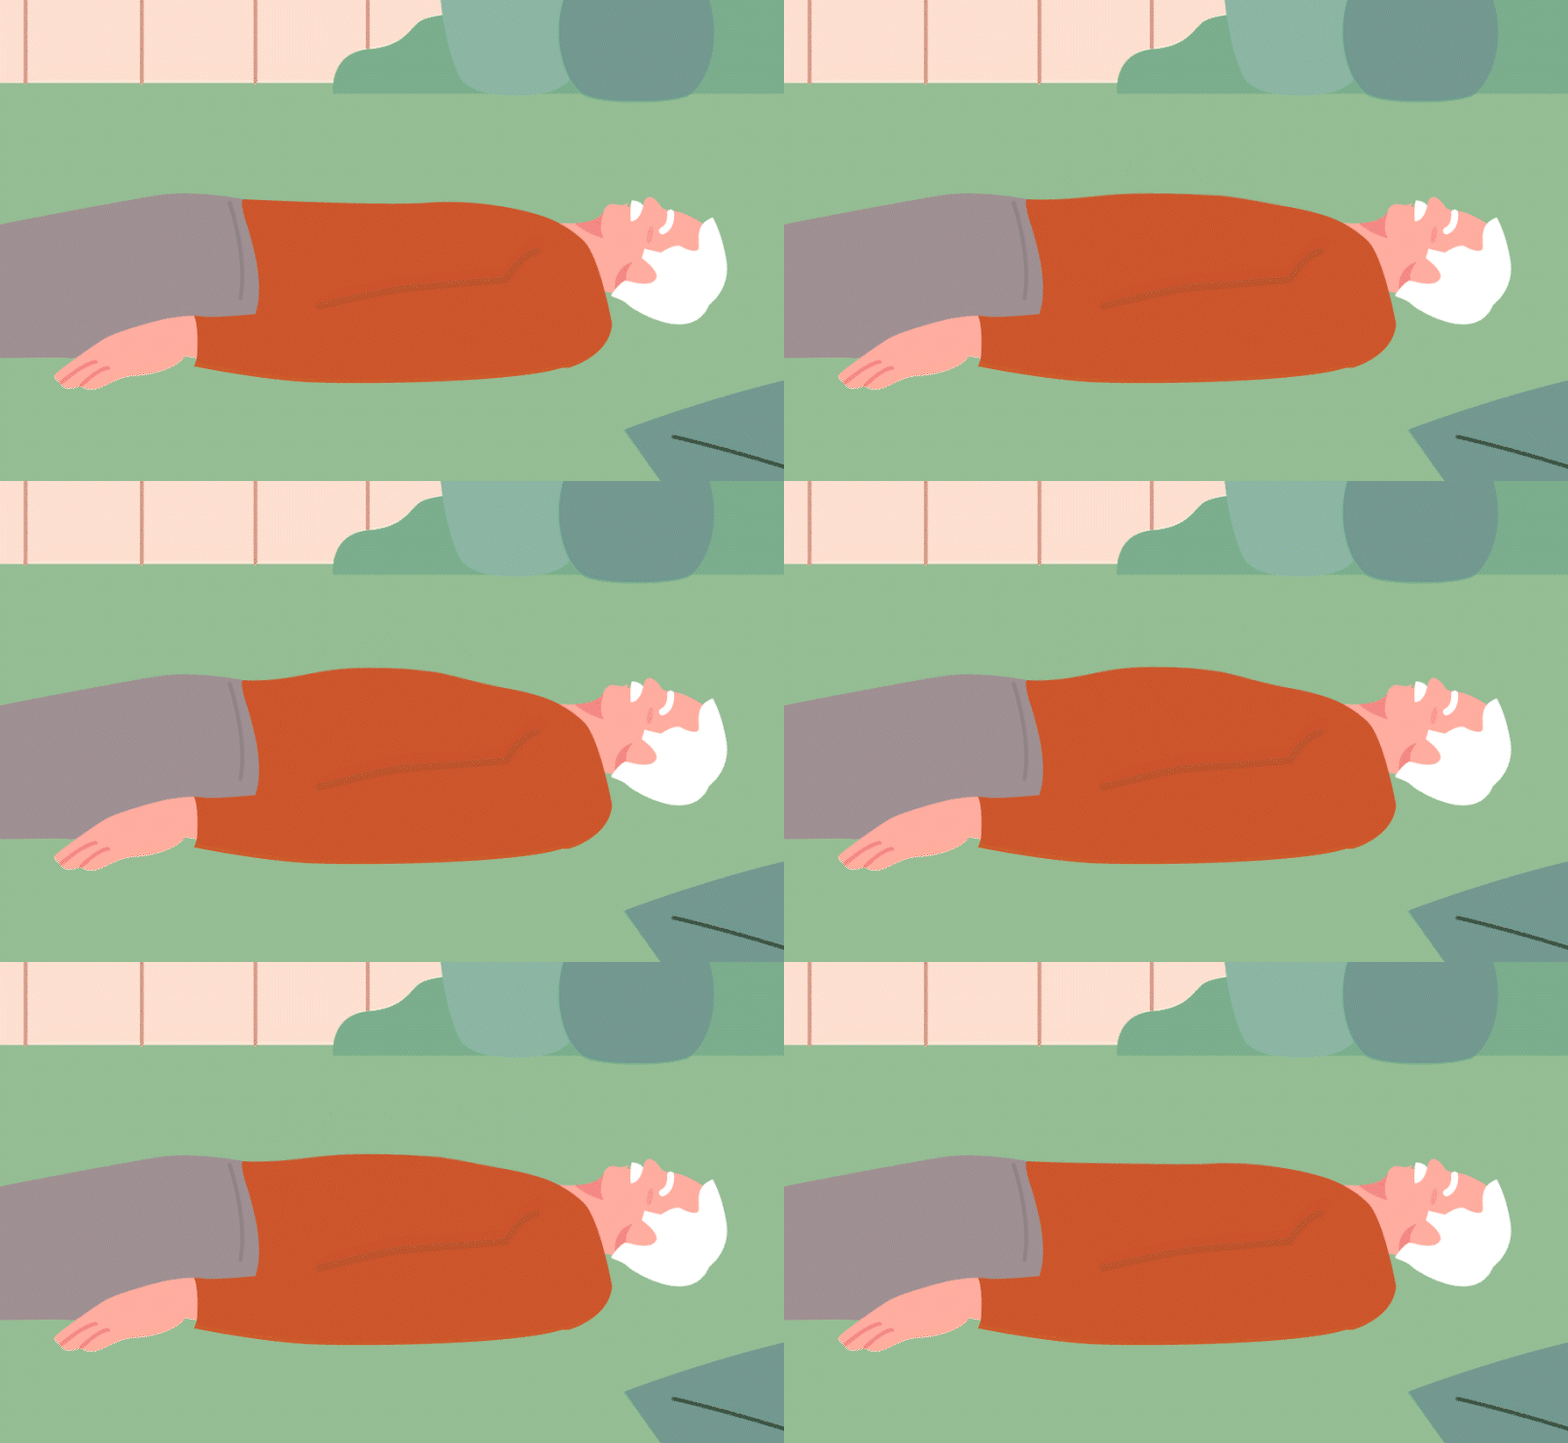
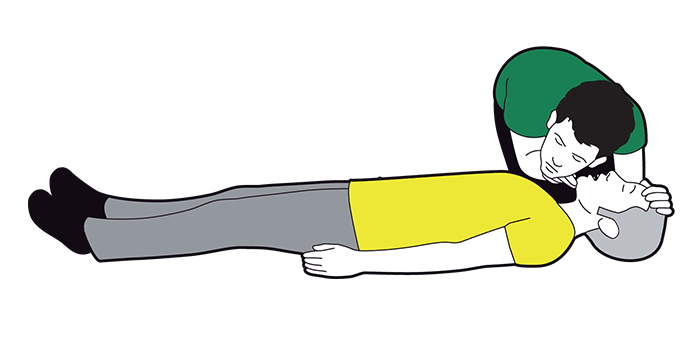
Check their breathing
You should check their breathing for a full 10 seconds.

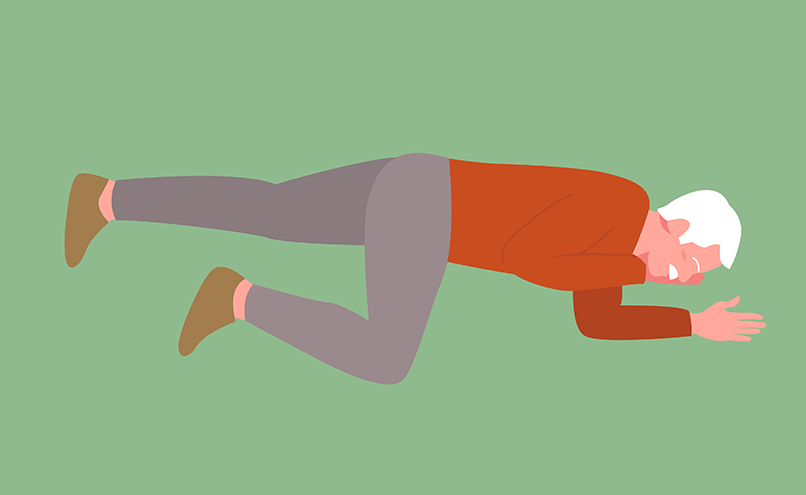
Recovery position
If they are wearing glasses, or have any bulky items in their pockets, remove them. Do not search their pockets for small items.
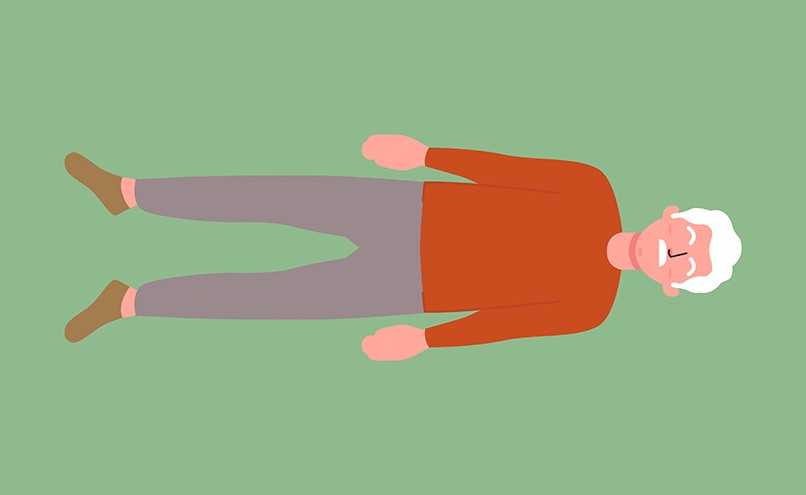
Recovery position
Place the arm that is nearest to you at a right angle to their body.

Recovery position
Bring their other arm across their chest and place the back of their hand against the cheek nearest to you.
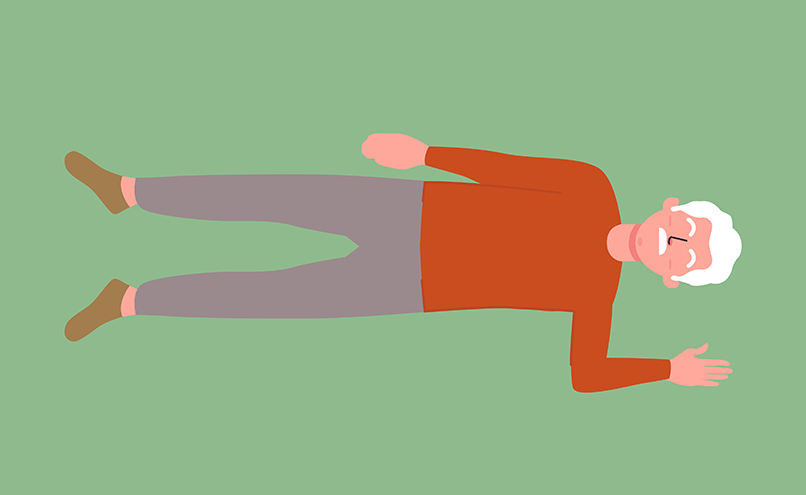
Recovery position
Pull their far knee up so that their foot is flat on the floor.
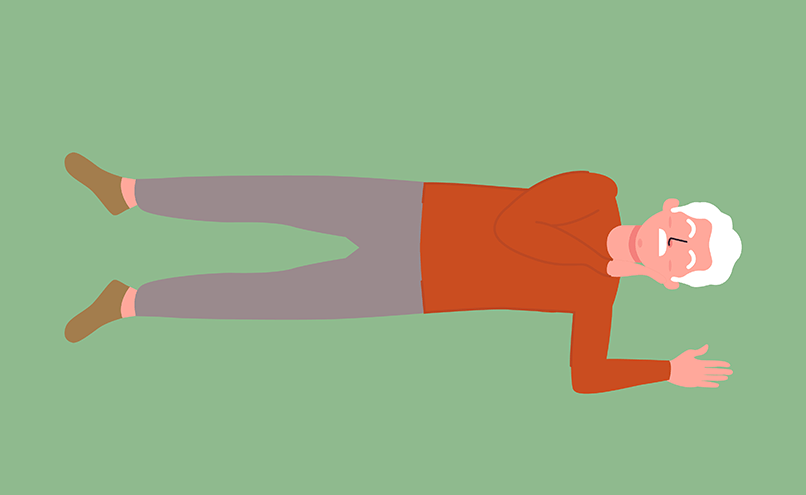
Recovery position
Keeping the back of the casualty's hand pressed against their cheek, pull on the far leg to roll them towards you.
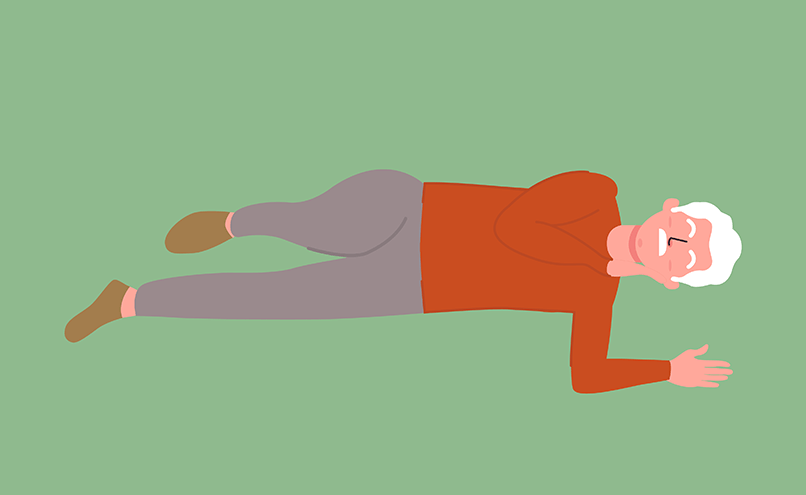
Recovery position
Tilt the casualty's head back and lift their chin to make sure their airway stays open.
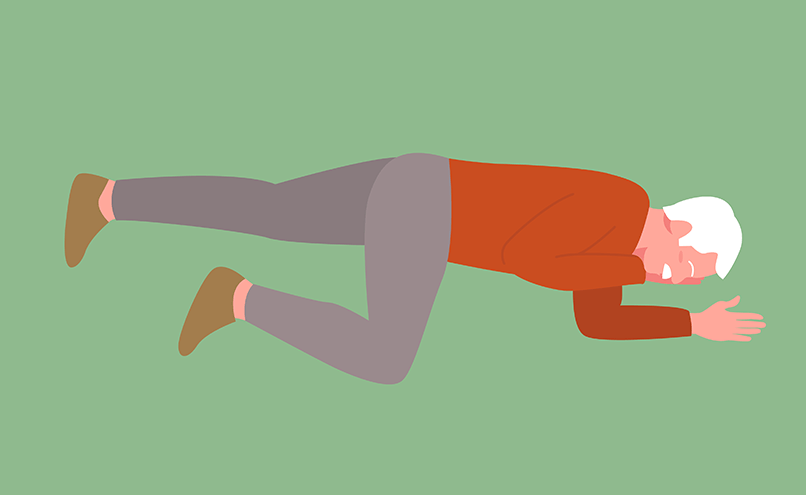
Recovery position complete
Whilst you wait for more help to arrive, you will need to monitor the casualty's level of response. If they remain in the recovery position for 30 minutes, roll them into the recovery position on the other side.
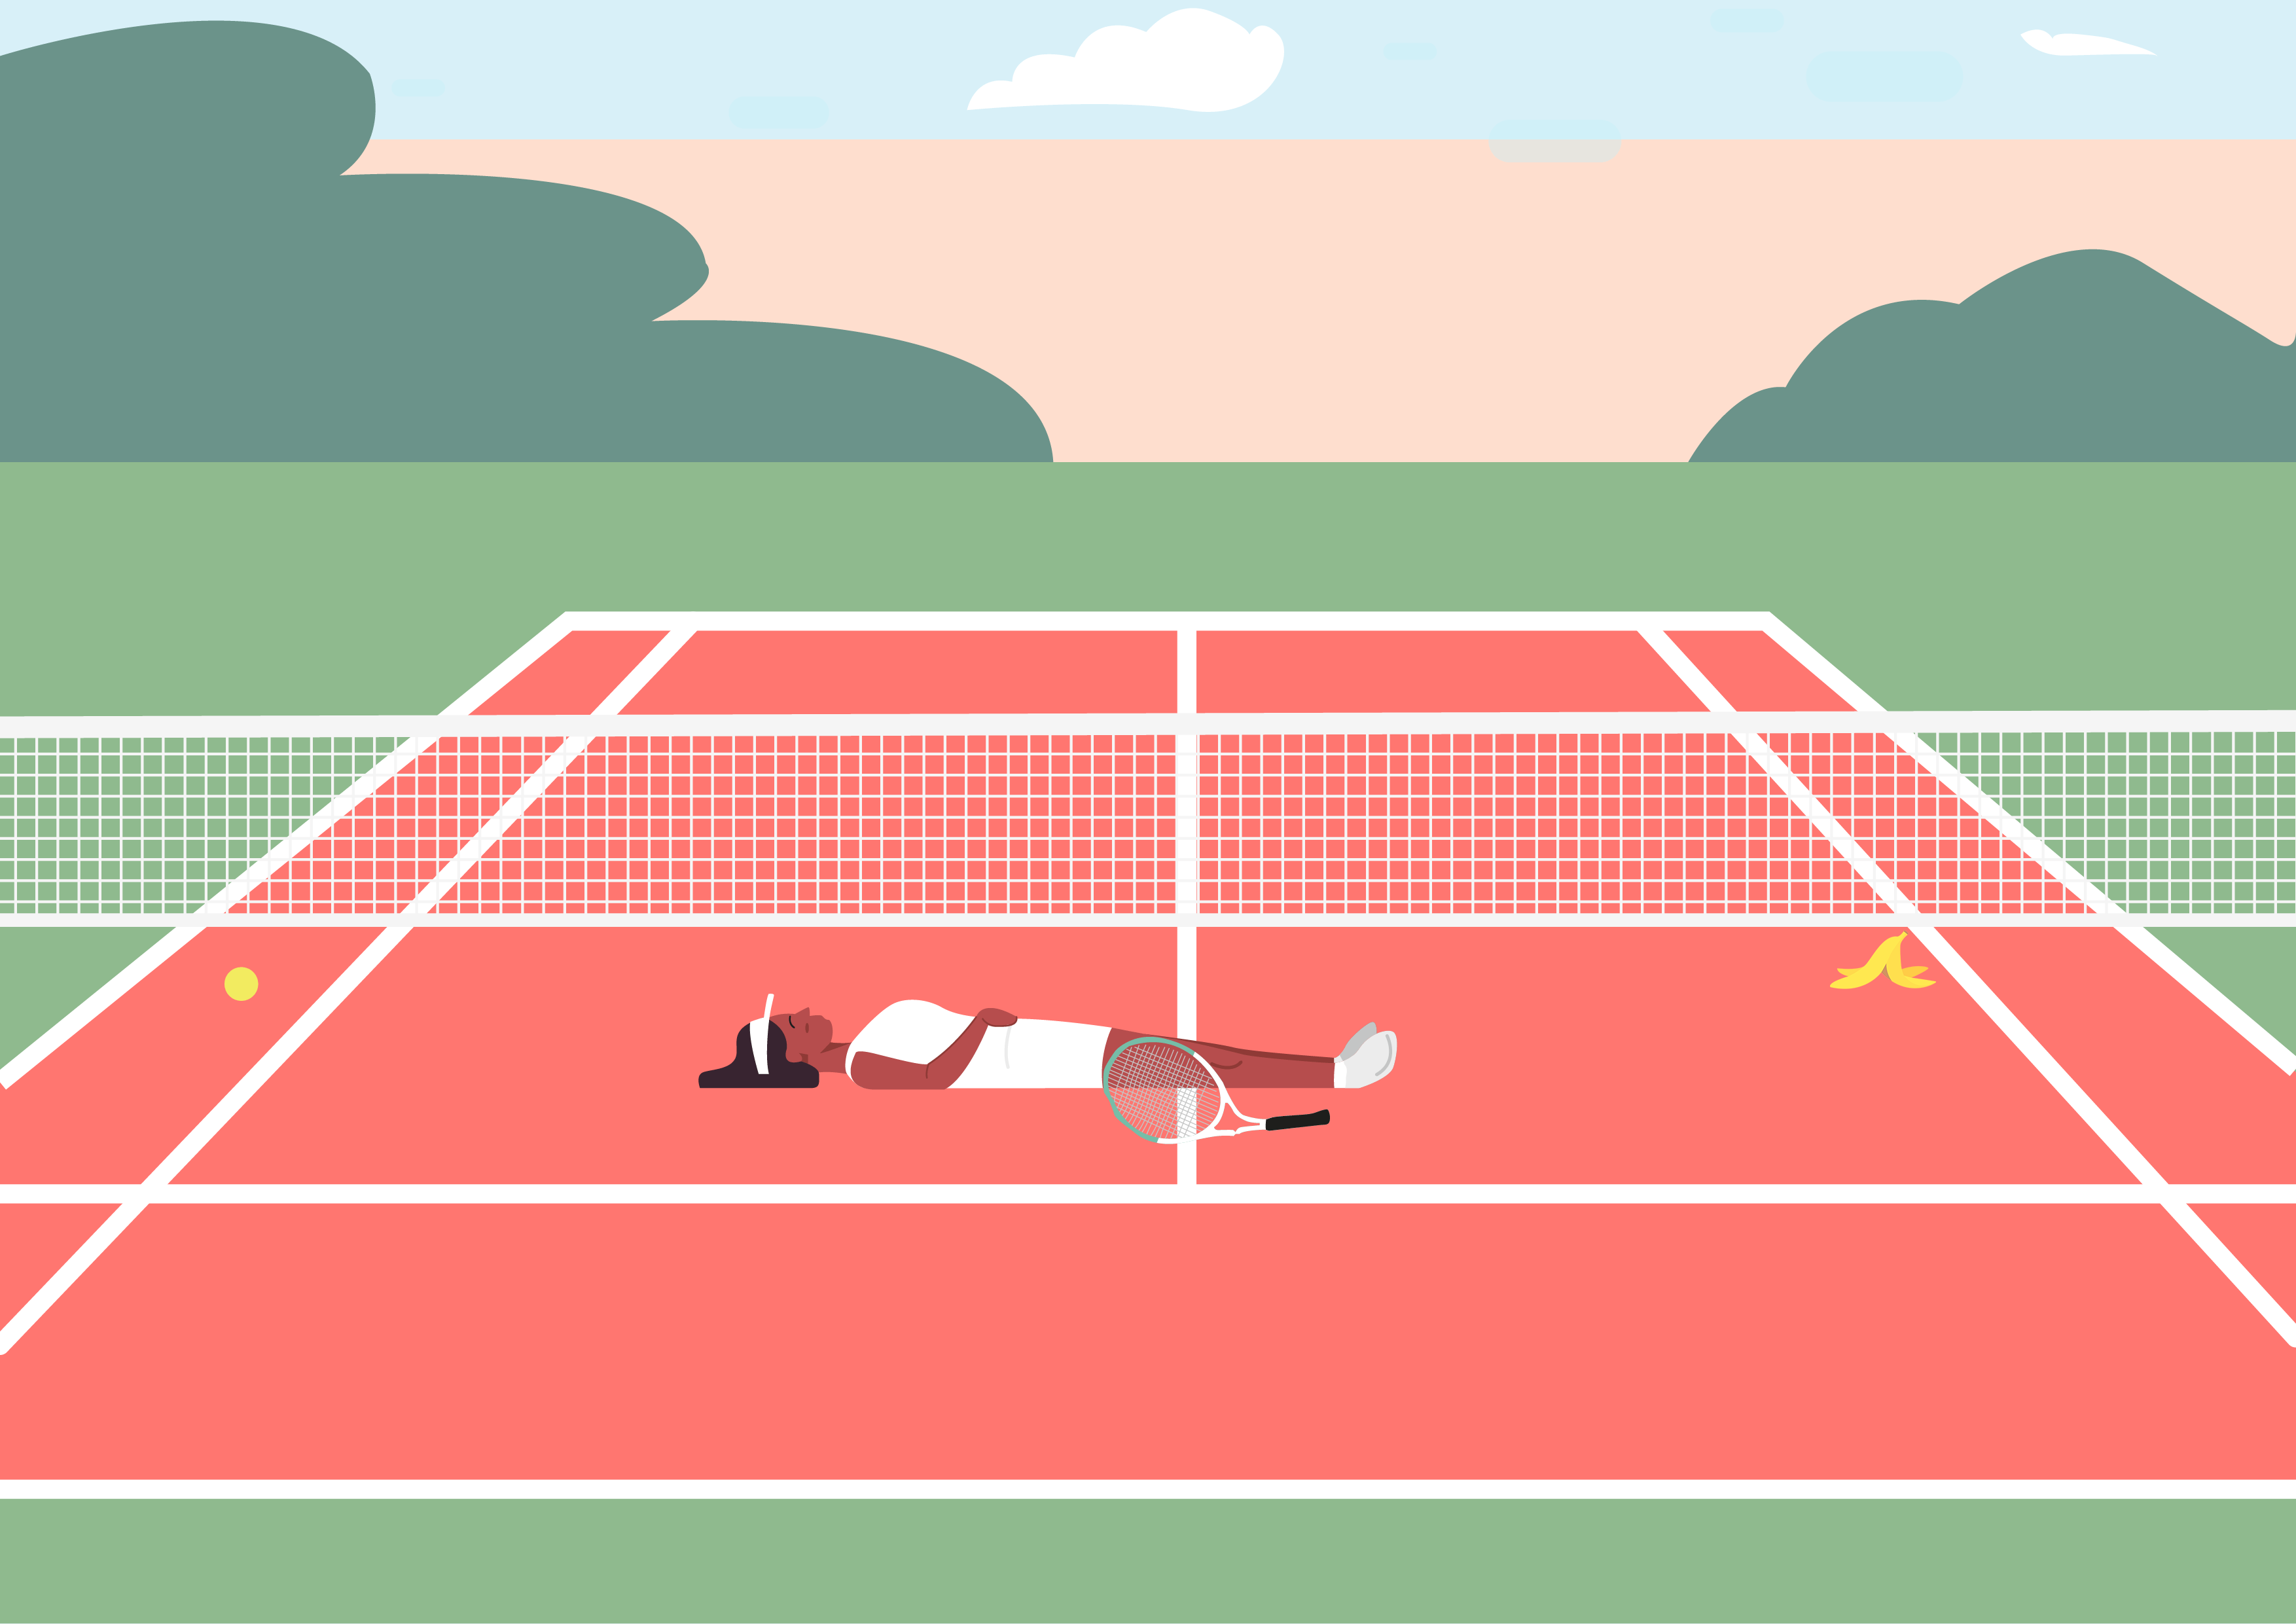
Identify the dangers
Select the three dangers nearby
Try and get a response
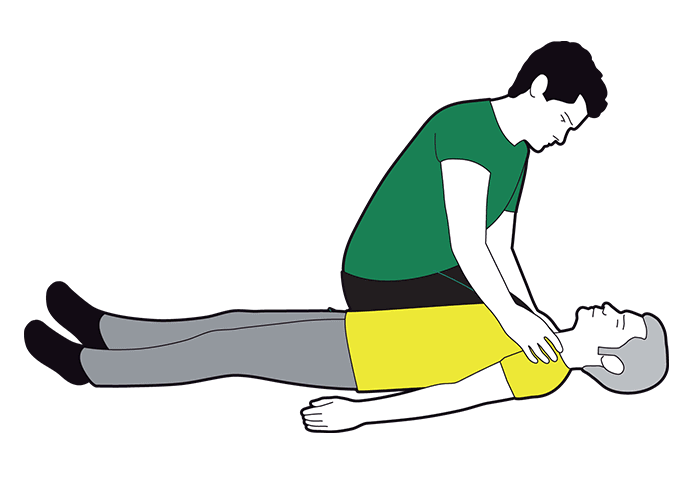
CPR
Cardiopulmonary resuscitation

CPR
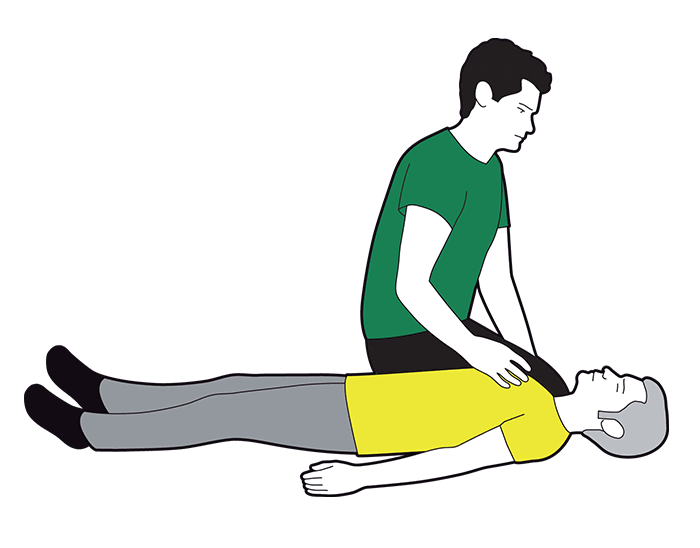
1. Select the correct hand position to perform chest compressions.
2. Select where on the person we should do it.

CPR
Select the correct frequency to perform chest compressions.
At a rate of..
Or around 55-65 per minute
Or around 100-120 per minute
Or around 220-240 per minute
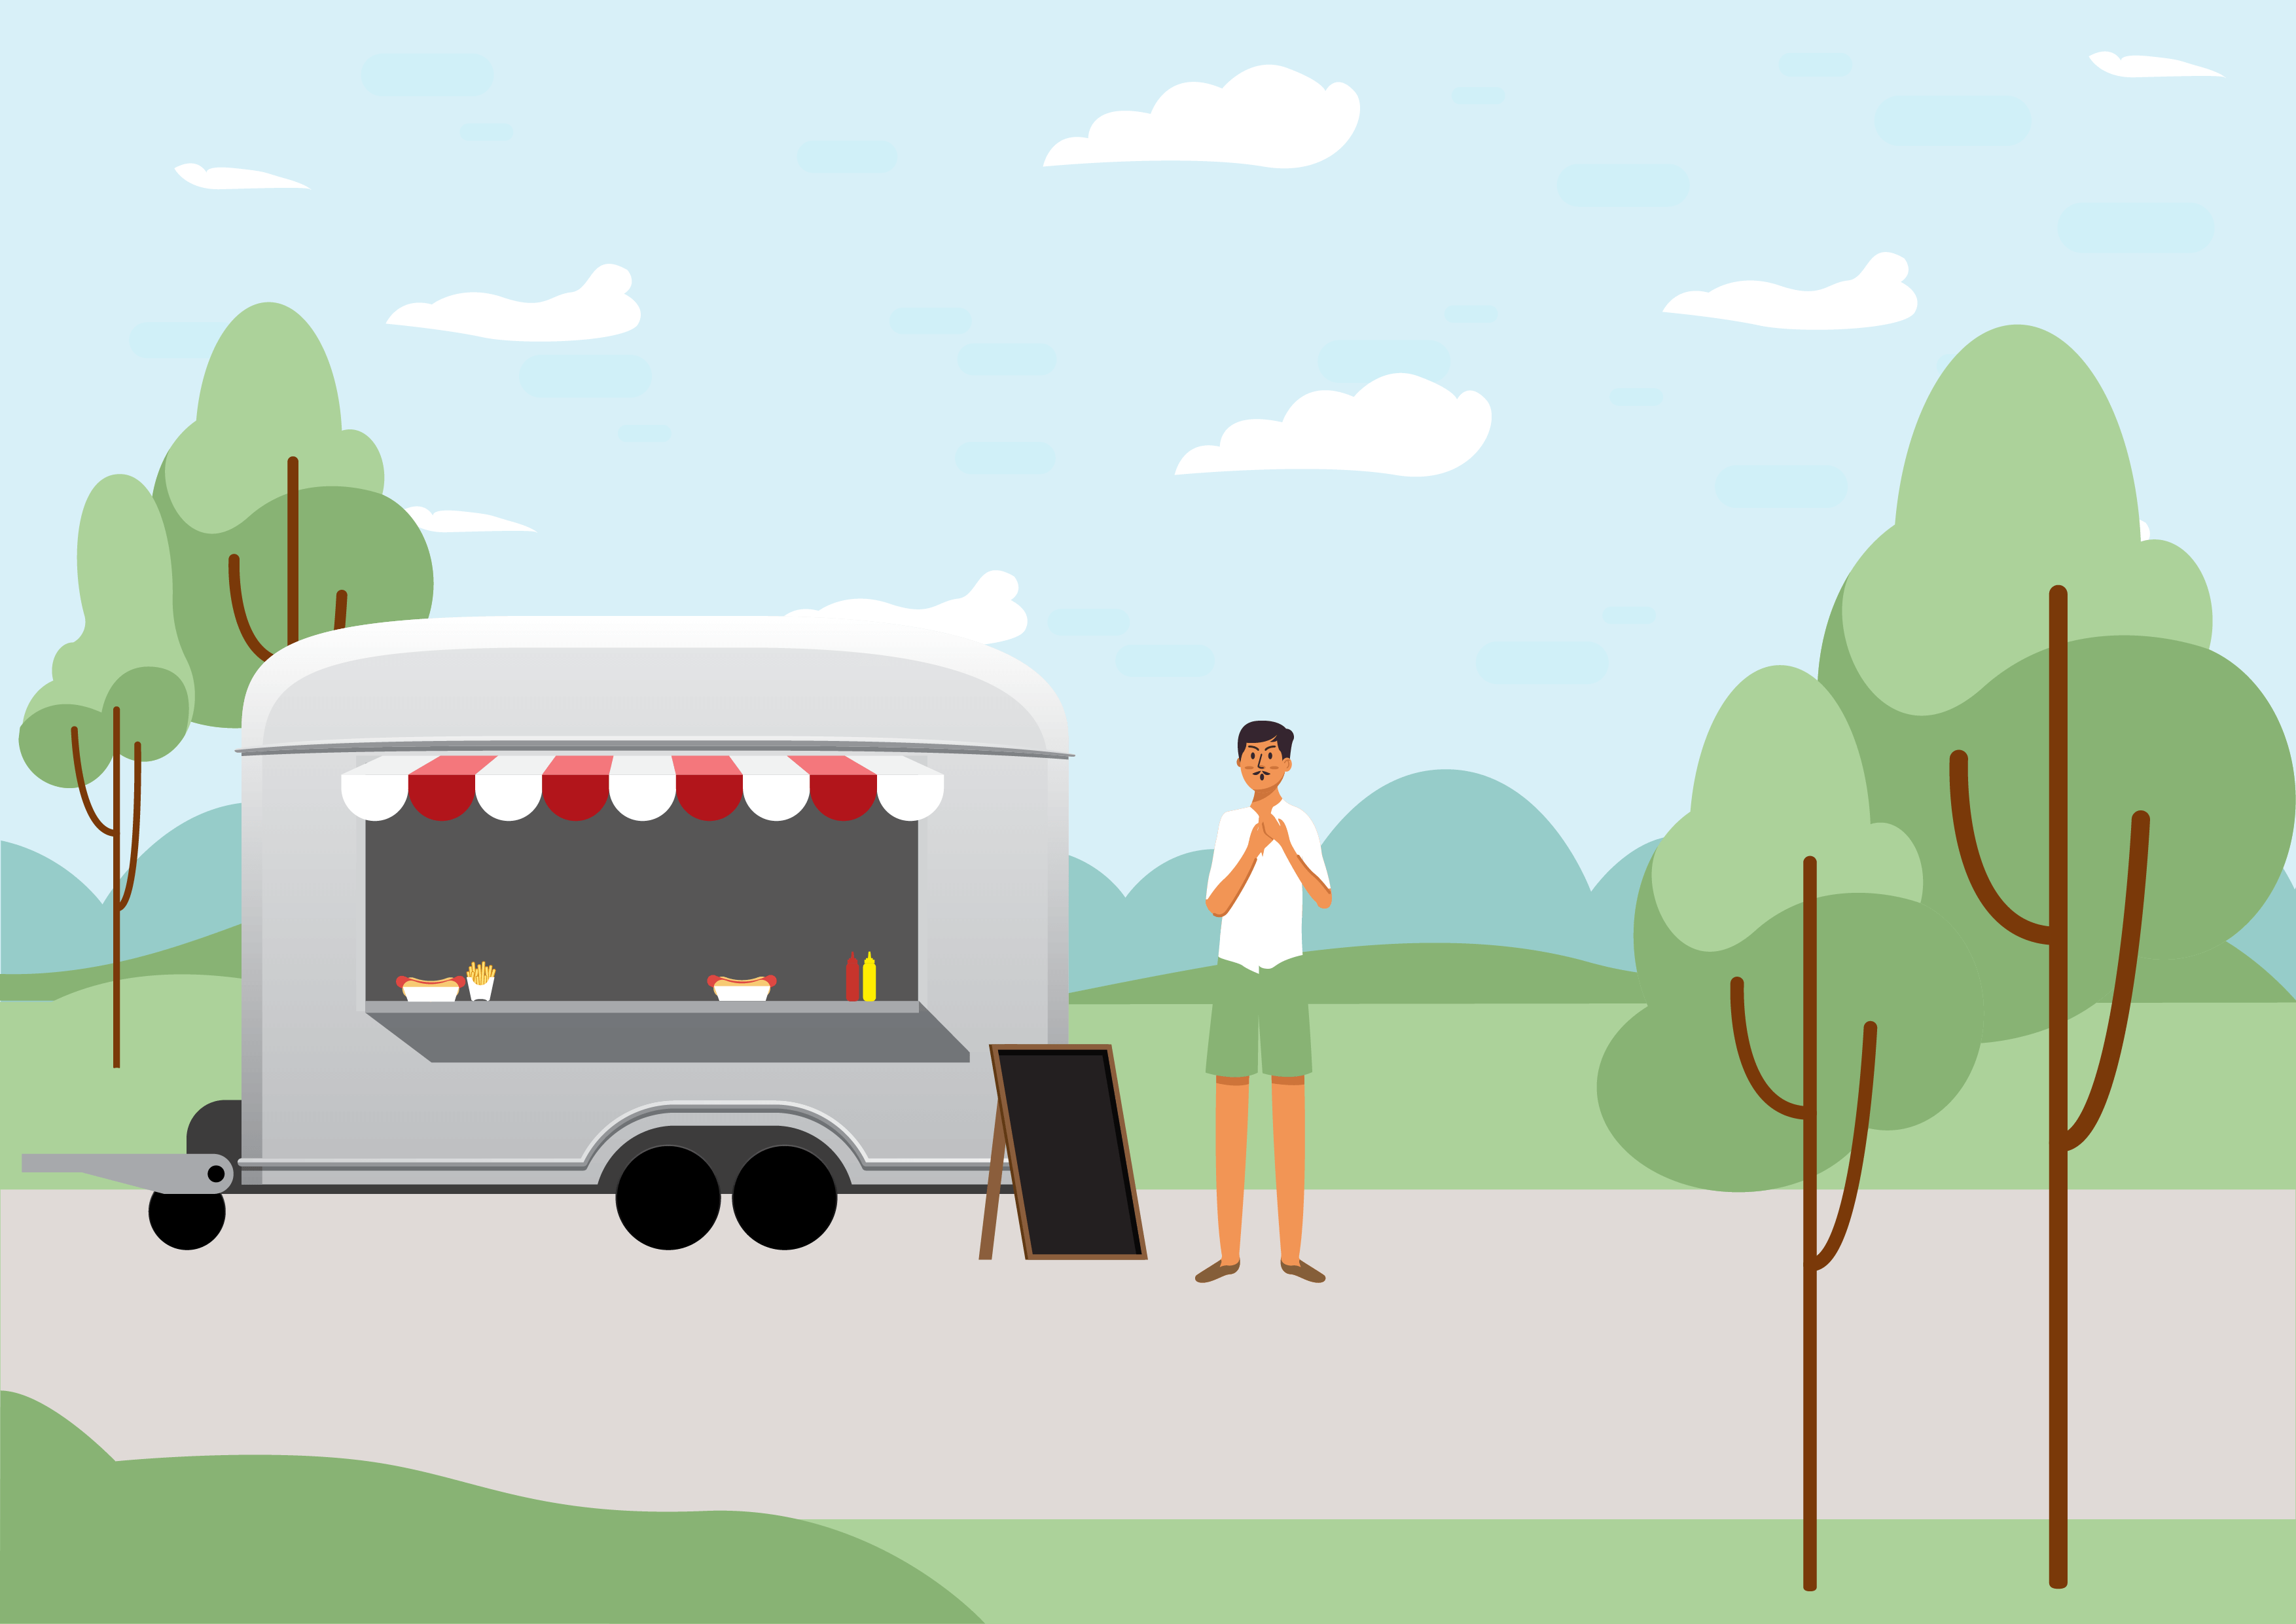
Choking
Put the following statements into the order in which you should approach this situation.
Back blows
1. Select the correct hand position to perform back blows.
2. Select the location on the back of the person where we should perform the back blows.

Choking
What should we do next?
Abdominal thrusts
1. Select the correct hand position to perform abdominal thrusts.
2. Select where on the person we should do it.

You did it!
It looks like their airway is clear.

Severe bleed
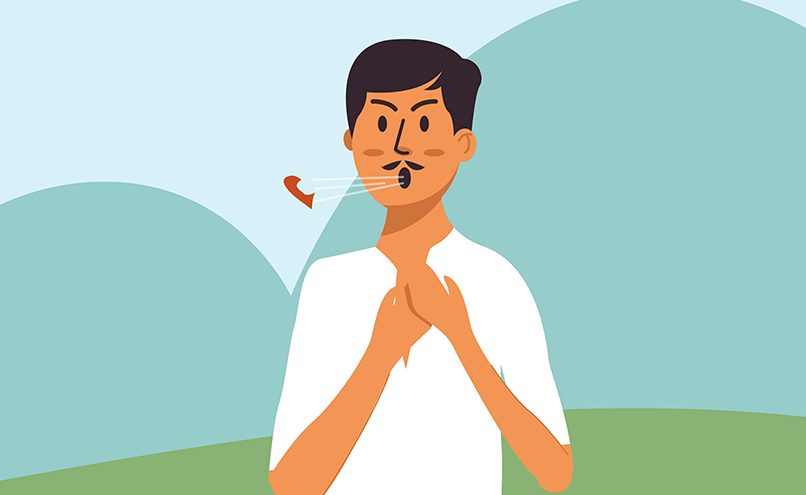
Put the following statements into the order in which you should approach this situation.
Stop the bleeding
Apply direct pressure to the wound to stop the bleeding.


Unresponsive
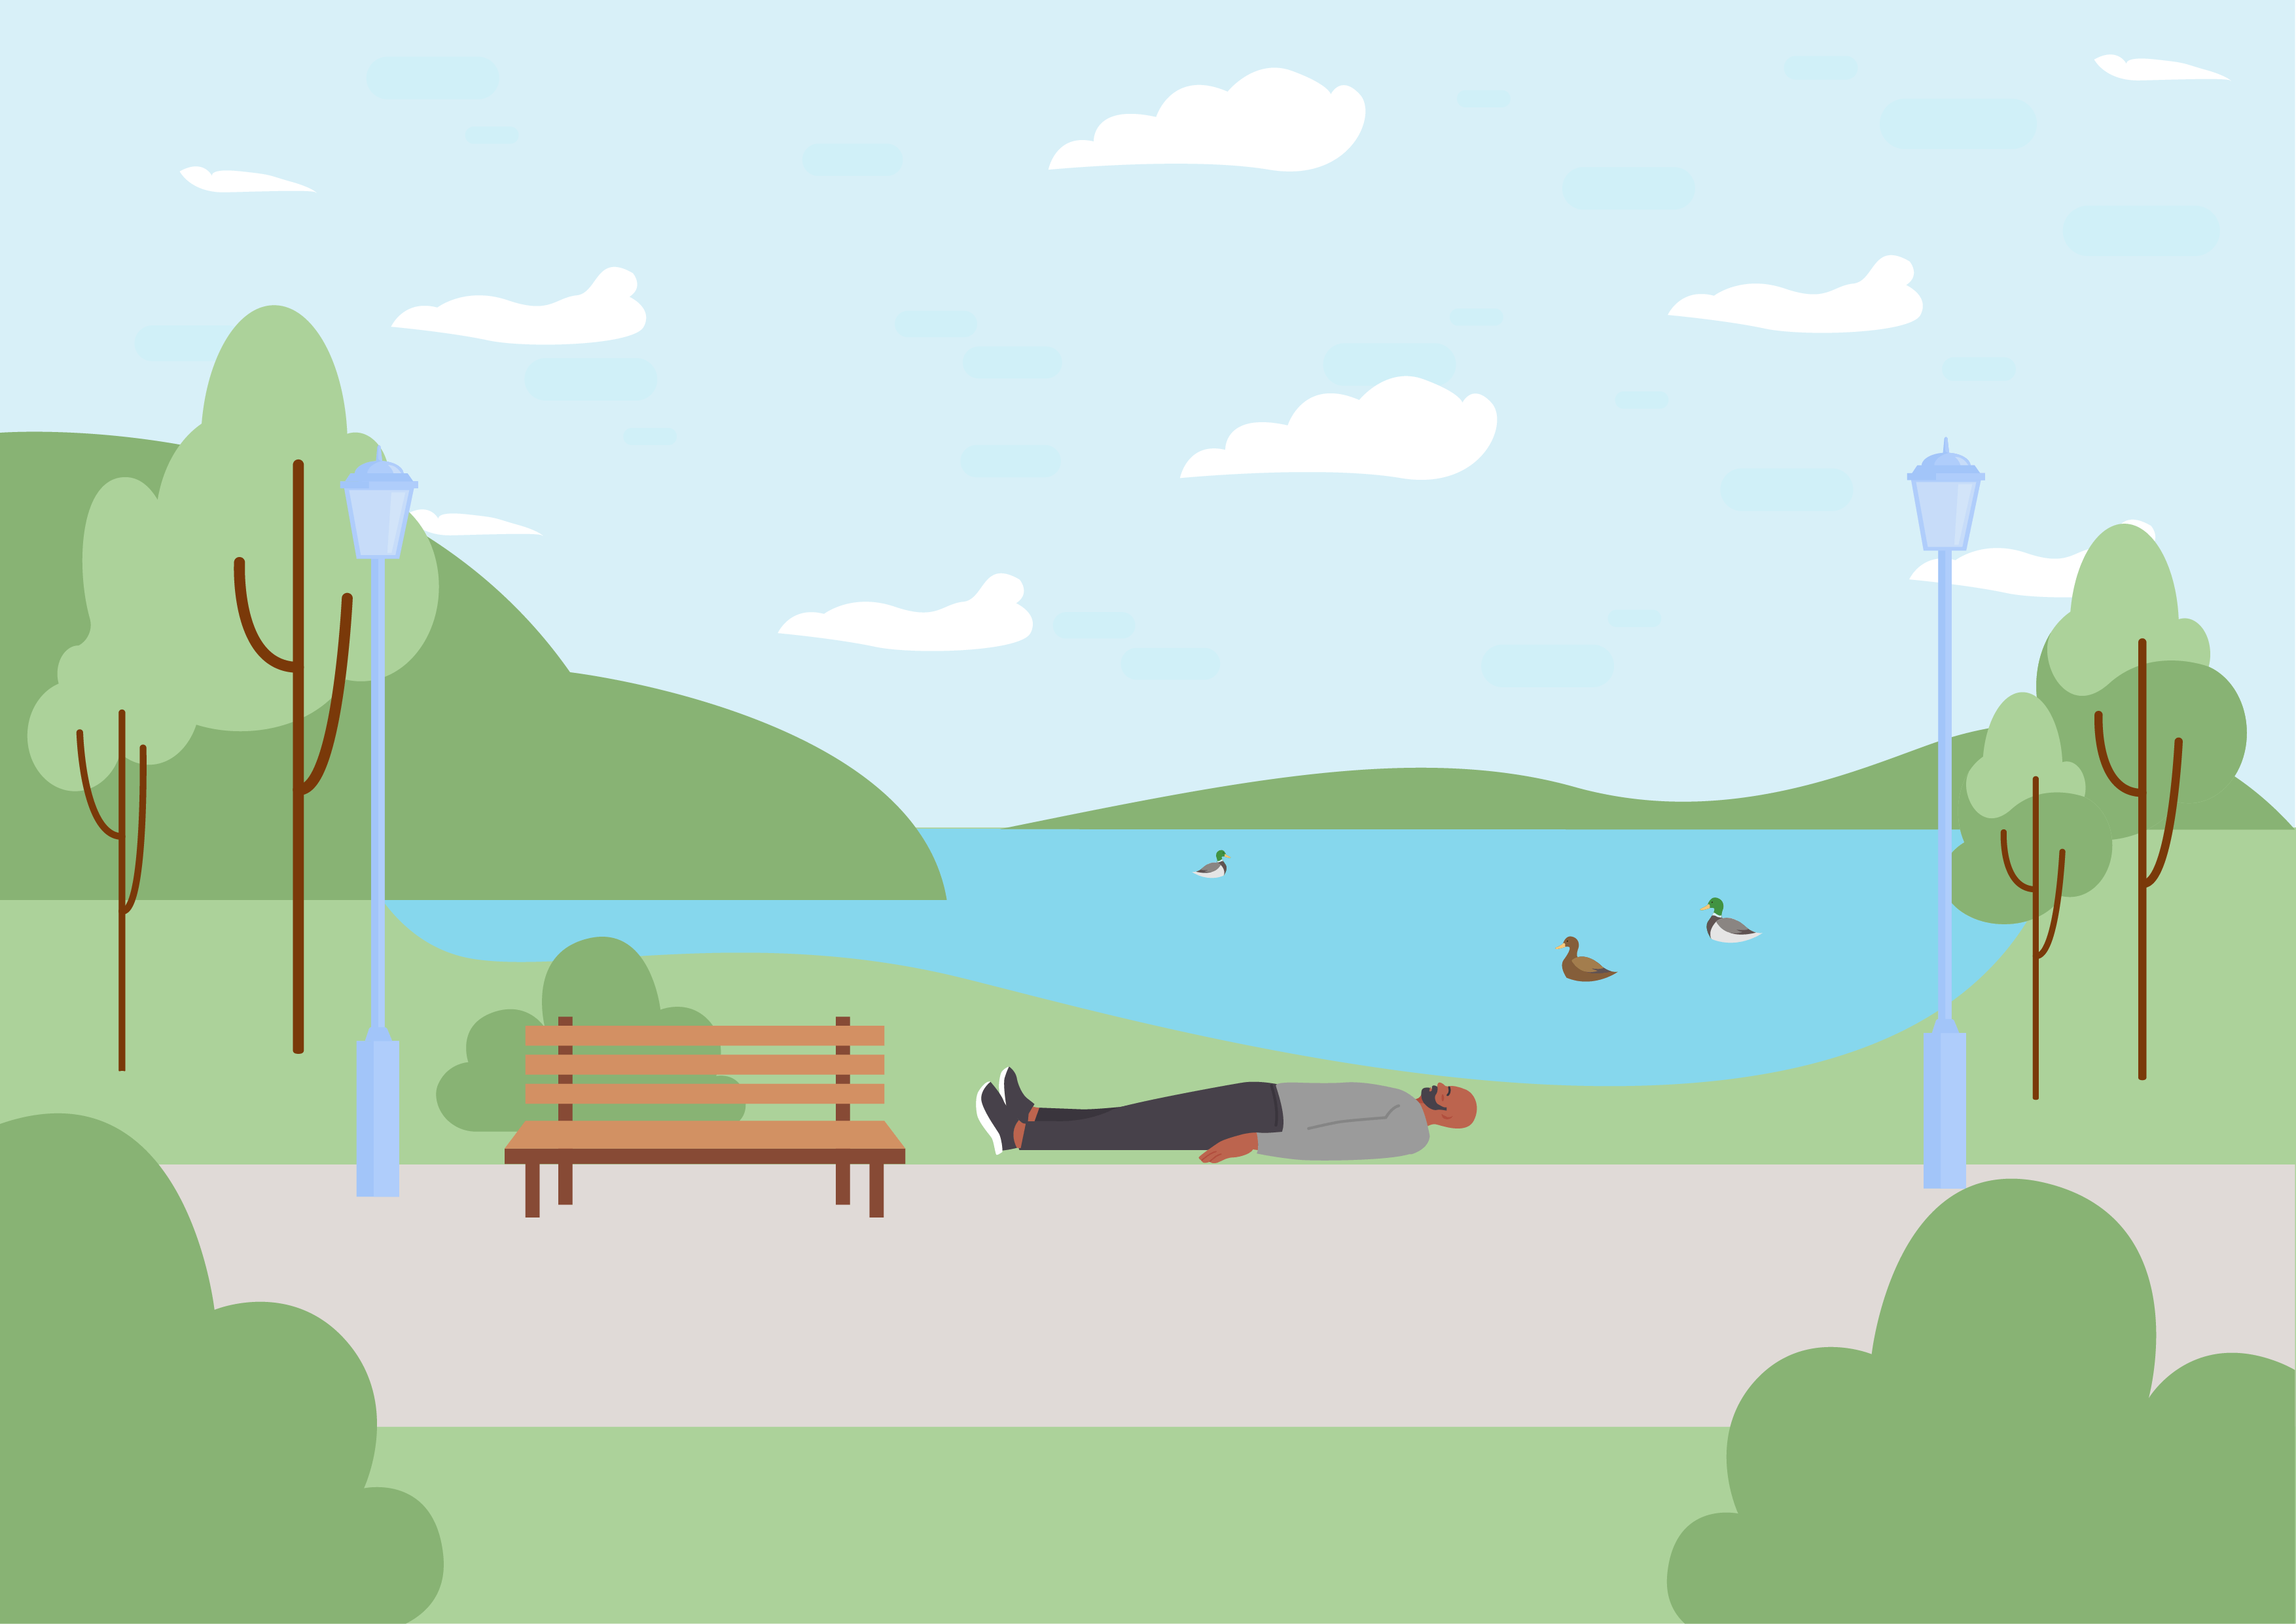
What should we do next?
Are they responsive?
How should we check?
Not responding
What should we do if they are not responding?
Unresponsive
What should we do now?
Check their airway
Select the two places needed to tilt their head back so that you can check their airway.
Unresponsive
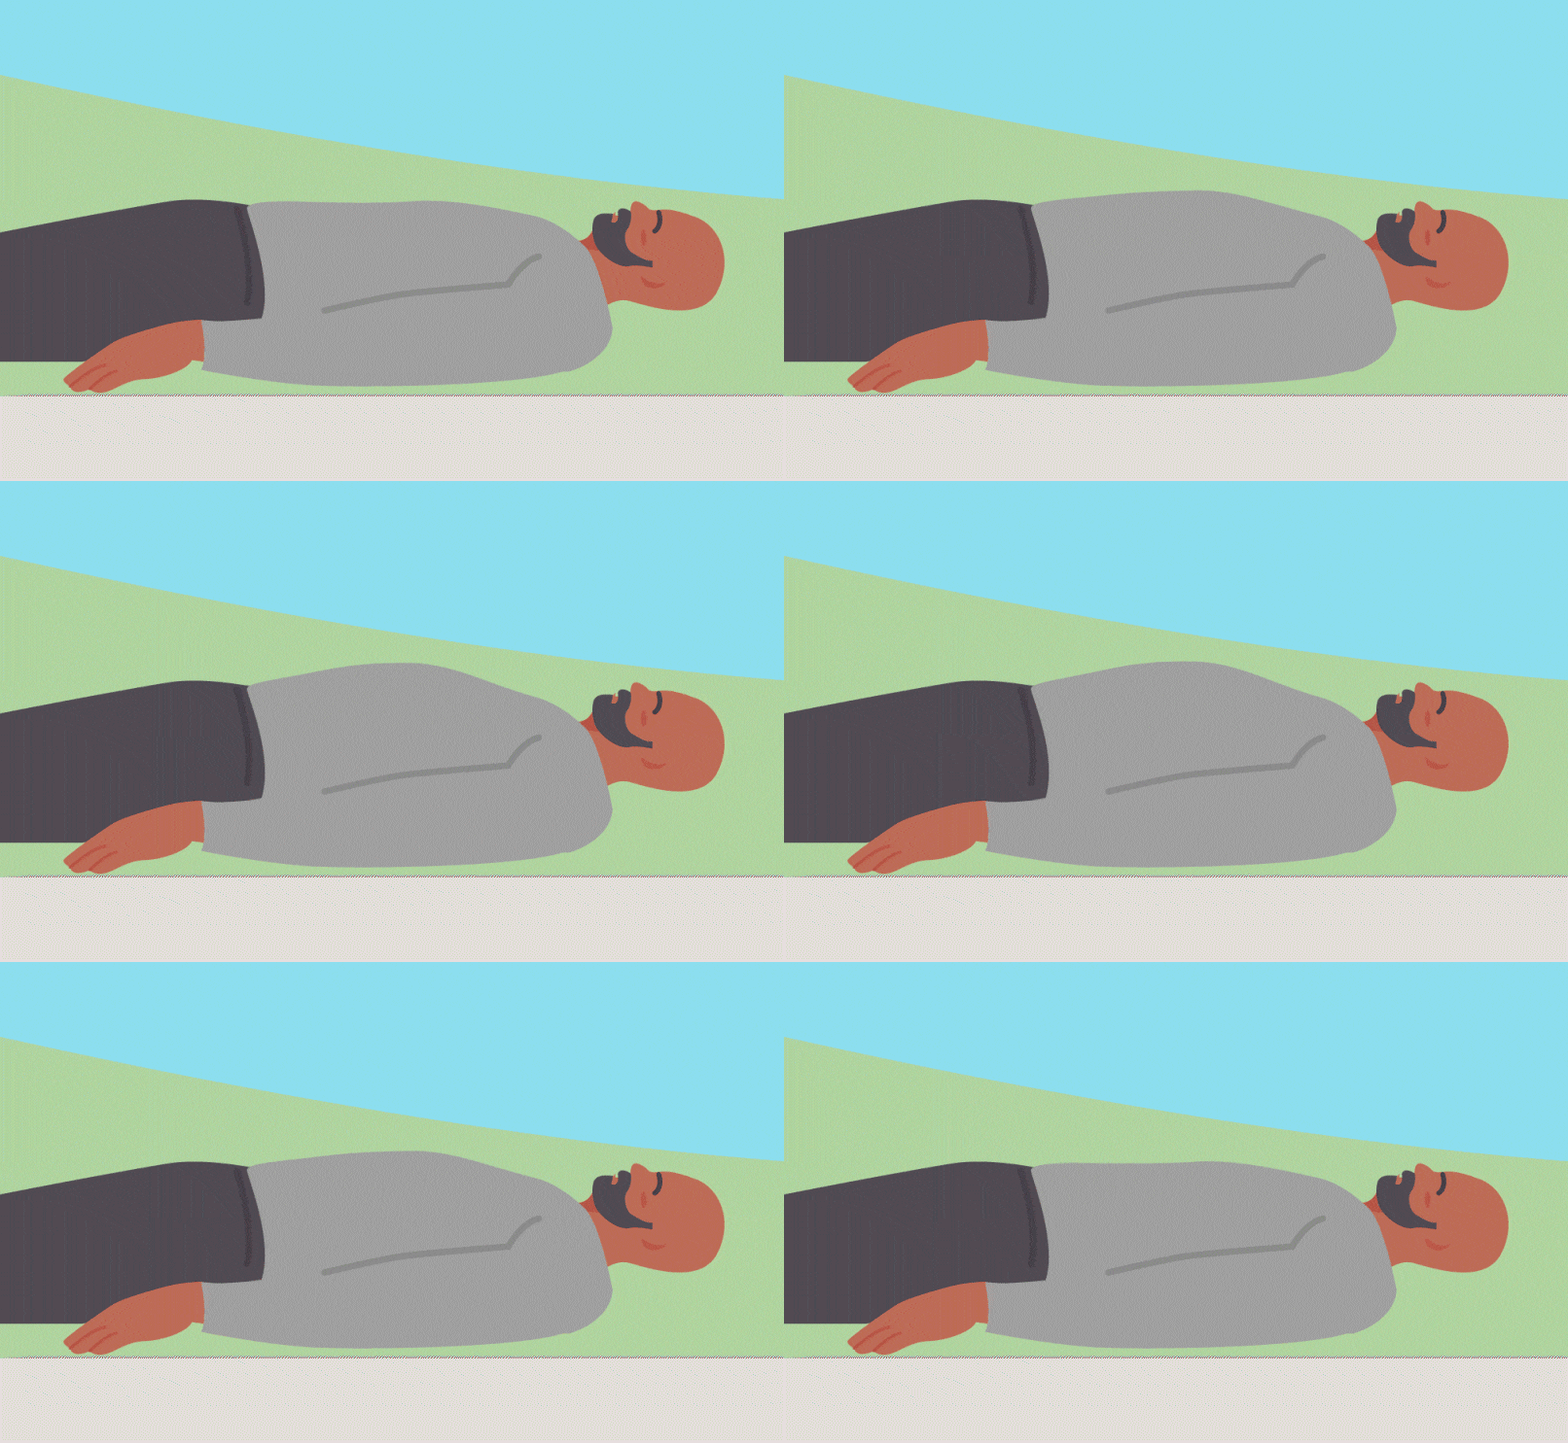
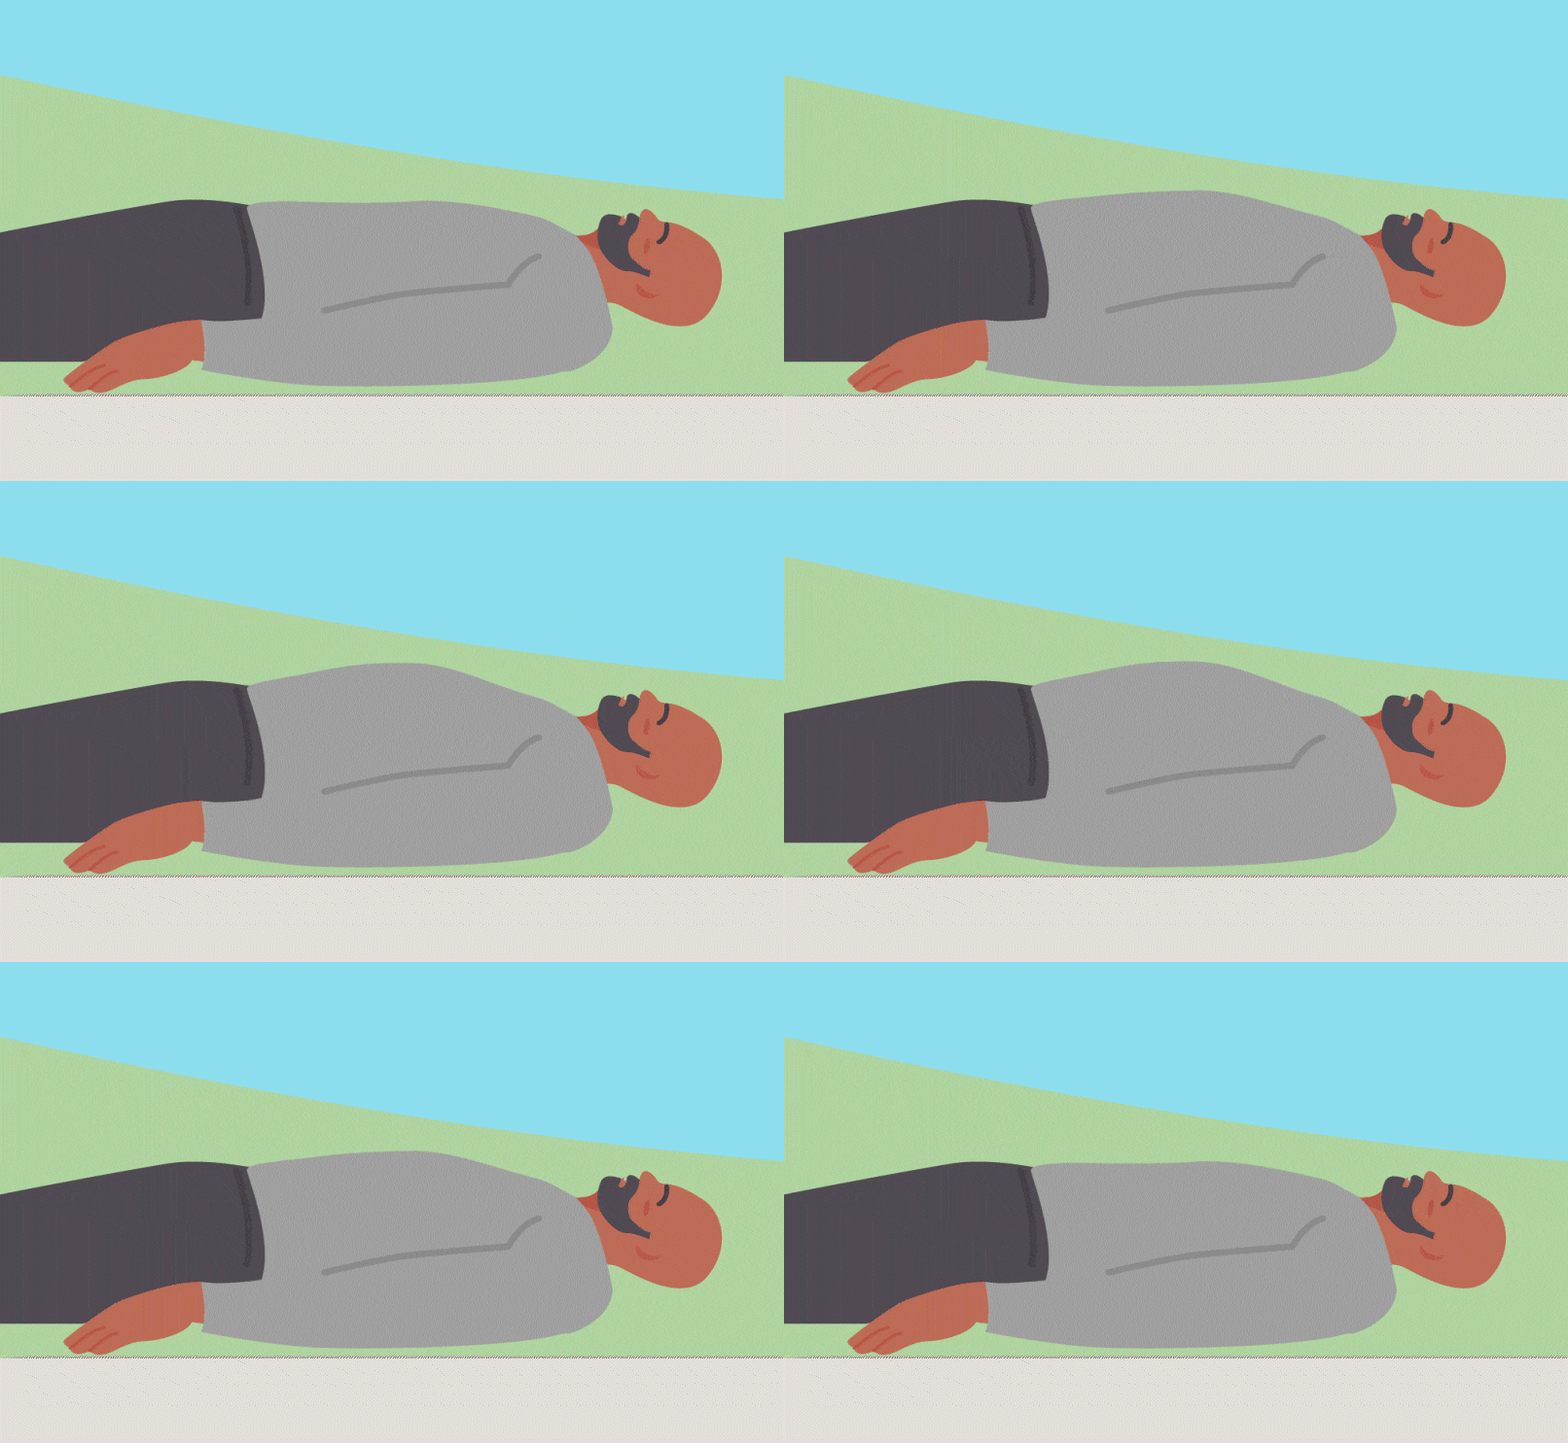
What should we do now?
Check breathing
How long do we check for?
Check their breathing
You should check their breathing for a full 10 seconds.

Unresponsive
What do we do next?
Unresponsive
What do we do next?
Recovery position
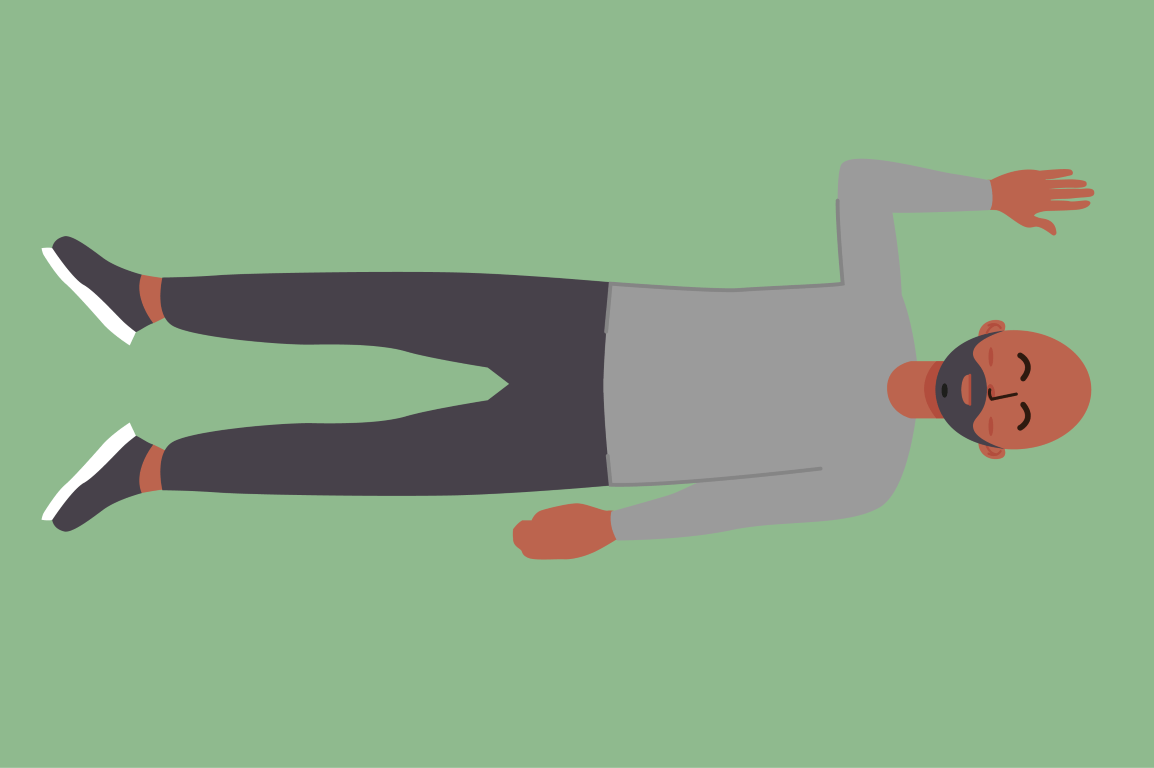
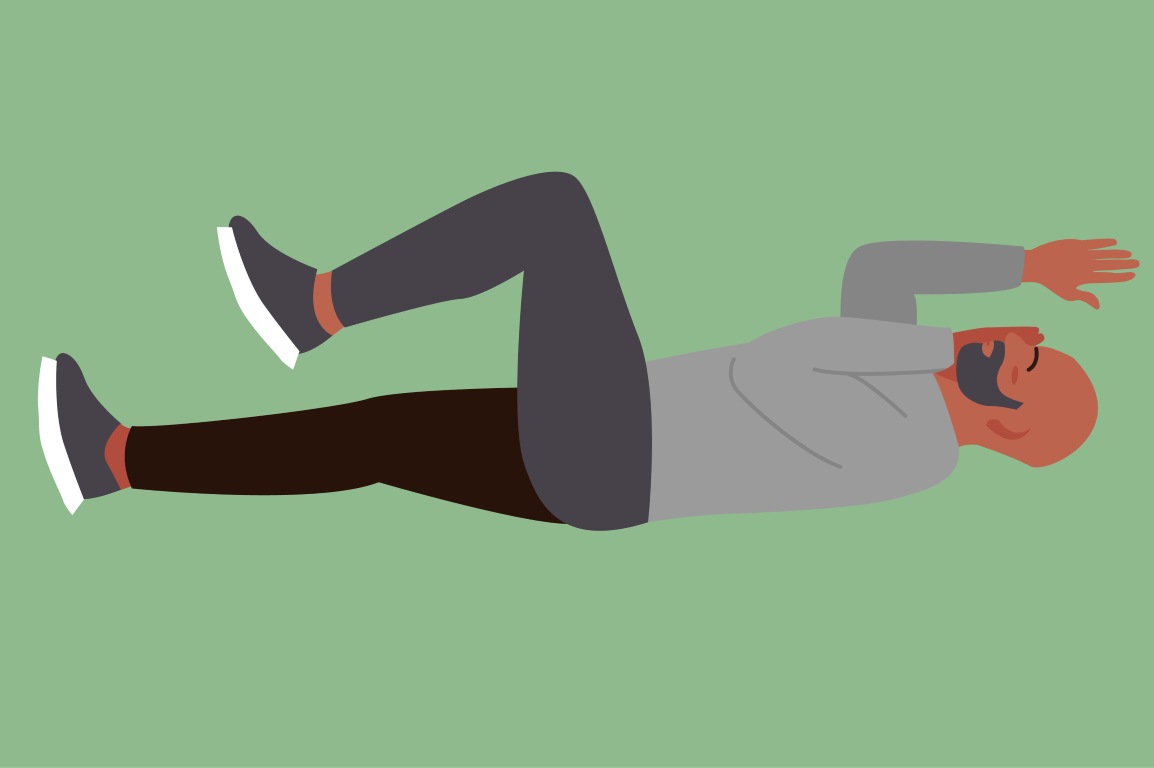
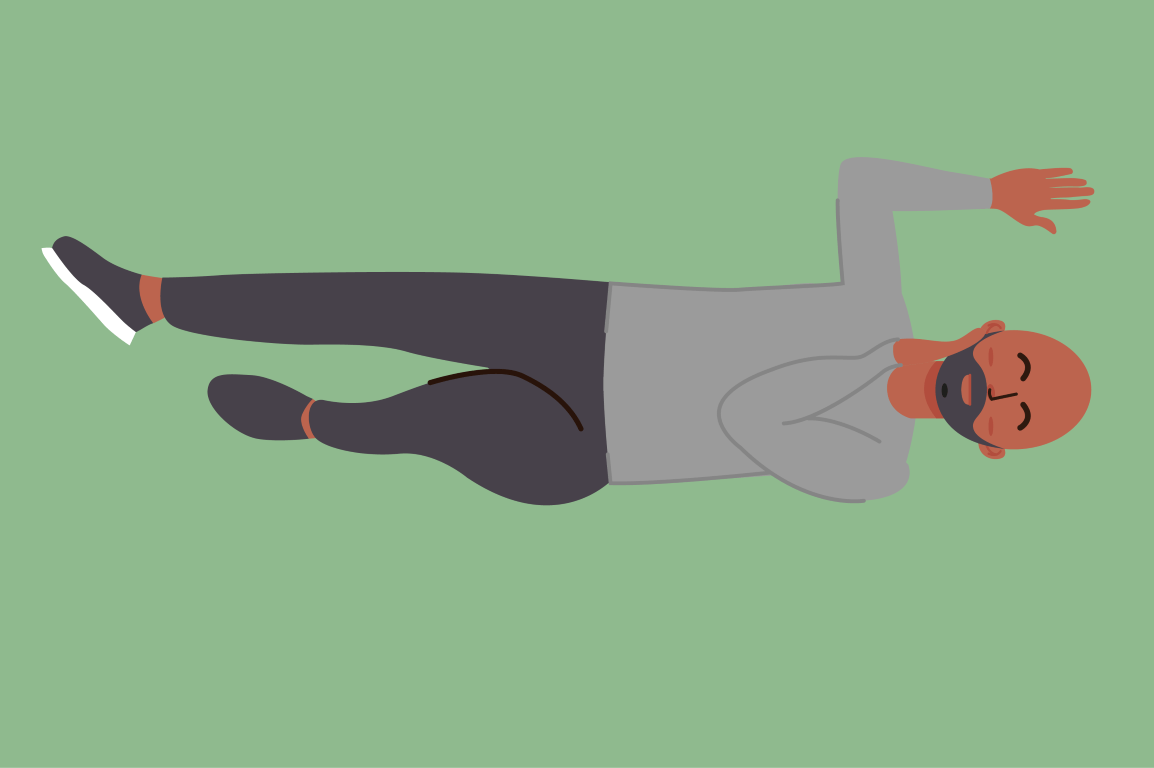
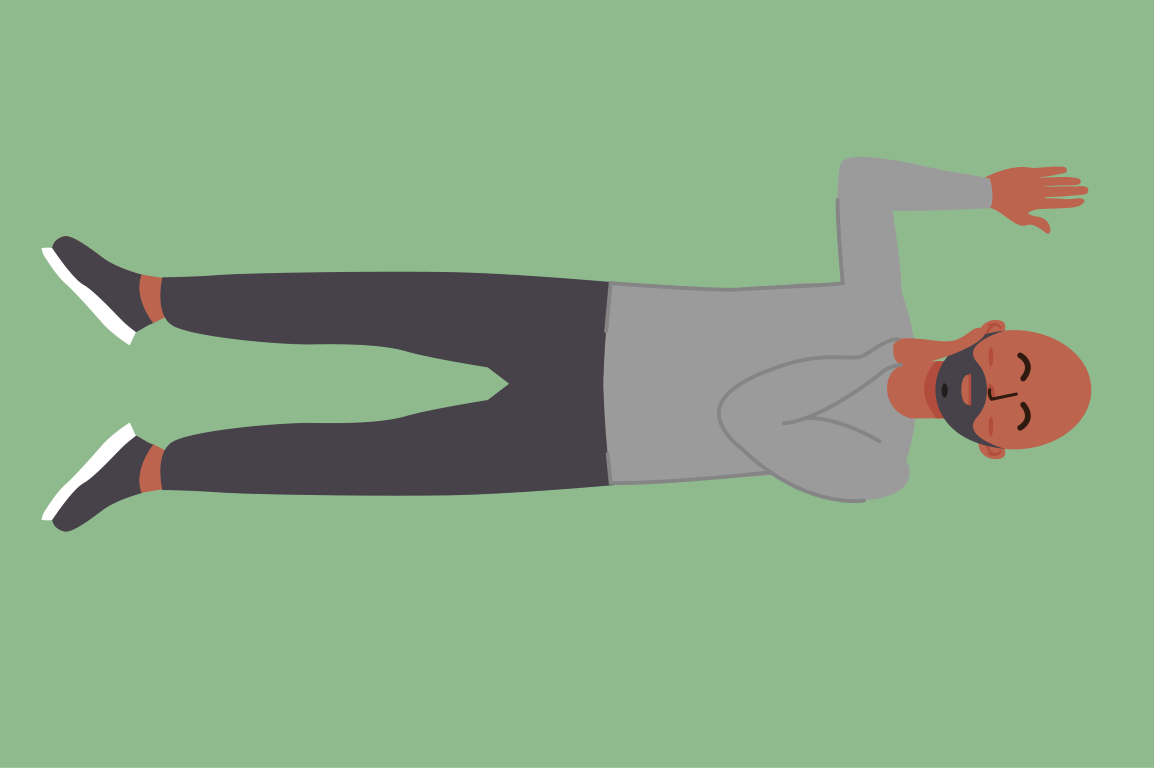
Select the correct final recovery position.
They have stopped breathing
We need to act quickly!
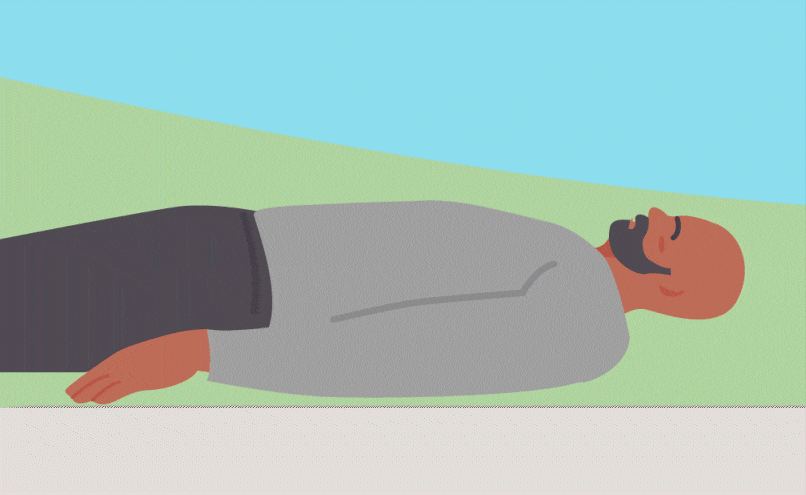
Act quickly
What do we need to start performing?
CPR
1. Select the correct hand position to perform to perform chest compressions.
2. Select where on the person we should do it.
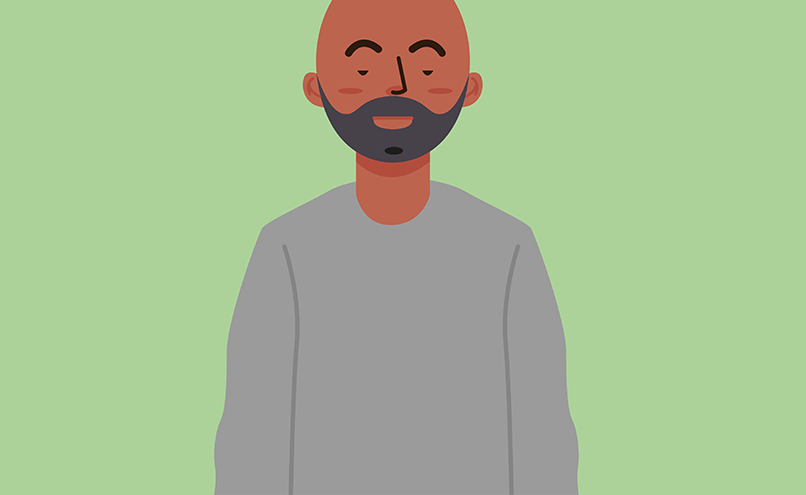
CPR
Select the correct frequency to perform chest compressions.
A rate of..
Or around 55-65 per minute
Or around 100-120 per minute
Or around 220-240 per minute
CPR
When should you stop?
Help is here
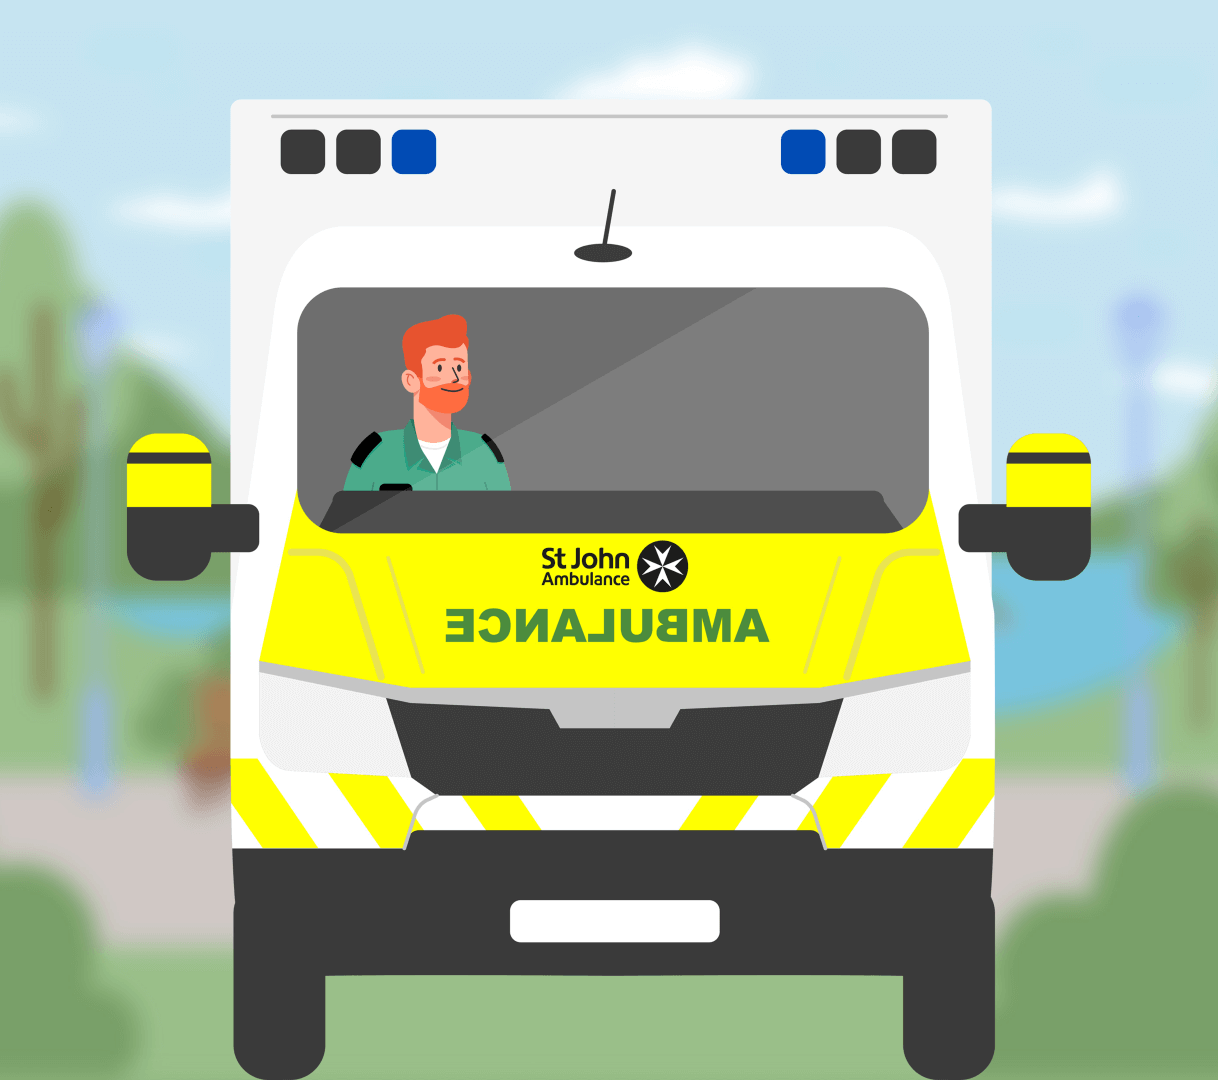
You did it!
Well done! You've completed this First Aid badge and demonstrated that you know how to:
- Perform a primary survey
- Help somebody who is bleeding severely
- Help somebody who is choking
- Help somebody who is unresponsive but breathing
- Help somebody who is unresponsive and not breathing
You can refresh your first aid memory and practice these skills again by revisiting this badge whenever you like.
Go back to the map
